What Is a Cannula Cleaning Brush?
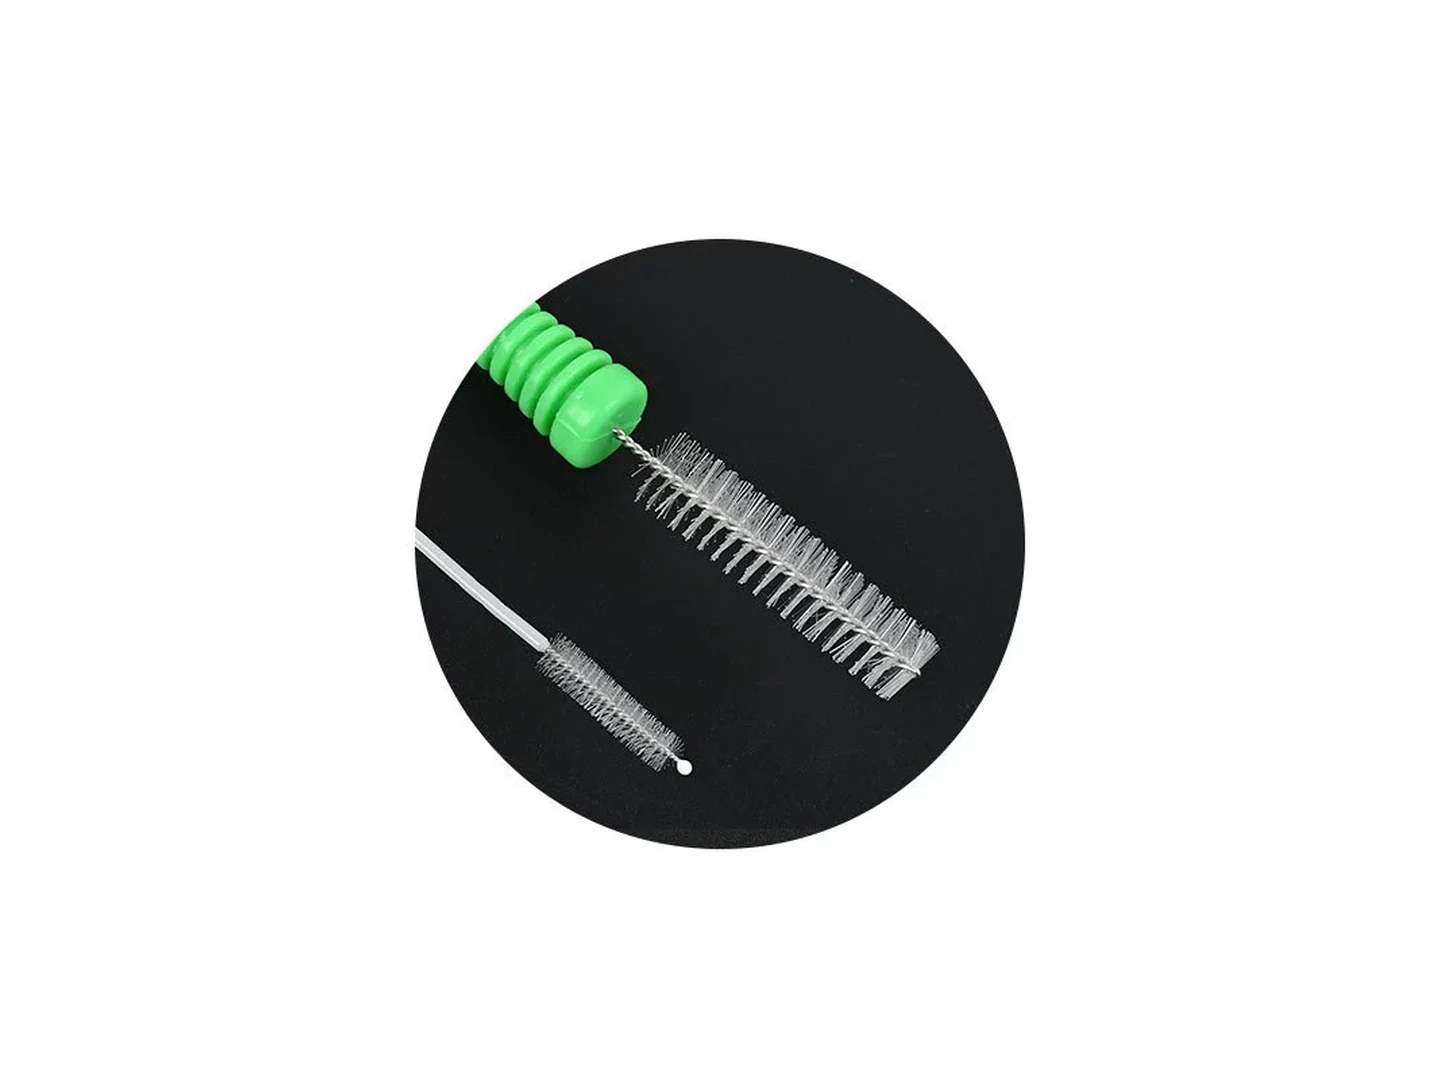
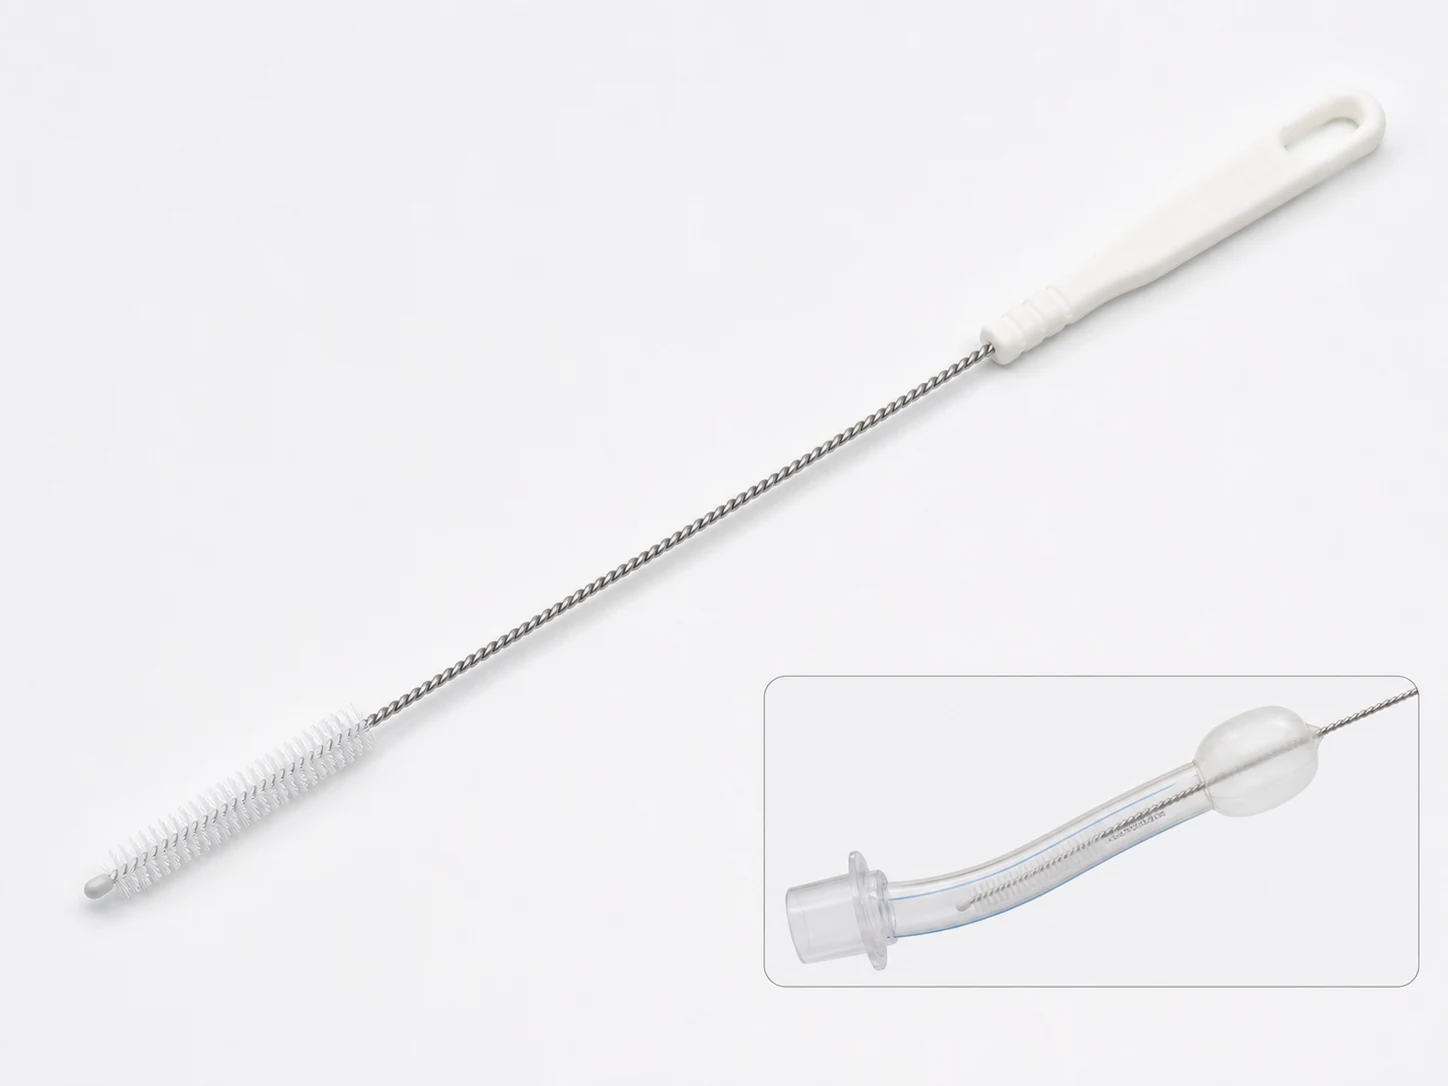
A cannula cleaning brush is a small-diameter brush designed to fit inside narrow medical channels, such as cannulae or endotracheal tubes, to mechanically dislodge biological soils, dried secretions, or biofilm after use. Unlike general-purpose tube brushes, these brushes are engineered with soft or semi-rigid bristles and smooth, rounded tips to prevent scraping the inner wall. The dual goal is to remove all visible residue while preserving the channel’s integrity, which is critical for patient safety and device longevity.
Common Types and Material Options
For reusable medical-device cleaning claims, the practical boundary is the device maker’s validated instructions and the FDA — Reprocessing Medical Devices in Health Care Settings rather than a brush-only rule.
For healthcare cleaning language, this article keeps its claims within the general boundary of the CDC — Disinfection and Sterilization Guideline, which is written for disinfection and sterilization in healthcare facilities.
Where the article discusses healthcare settings rather than ordinary cleaning, the CDC — Core Infection Prevention and Control Practices is used as the general infection-control frame.
For brush terminology and construction language, this section references American Brush Manufacturers Association — Brush Lingo.
Brushes differ primarily in bristle material, core construction, and tip design. Nylon bristles are soft and widely used for plastic channels. Polypropylene offers stiffer cleaning action and chemical resistance. Natural fibers are occasionally used for delicate surfaces but may absorb moisture. Metal bristles (stainless steel or brass) are suitable only for rigid metal cannulae and pose a high scratching risk. The core is typically a twisted stainless steel wire (common but can scratch if exposed), a coated wire, or a solid plastic core. Tips range from blunt cut (low cost but sharp if not covered) to ball ends or tufted tips that protect the channel end.
Material and Design Comparison Table
| Feature | Option | Best For | Potential Damage Risk | Notes |
|---|---|---|---|---|
| Bristle Material | Soft Nylon | General plastic/resin channels, delicate surfaces | Low – gentle, less likely to scratch | Standard for many medical brushes |
| Polypropylene | Stubborn soils, higher chemical exposure | Medium – stiffer, may abrade if too aggressive | Good chemical resistance | |
| Metal (Stainless/Brass) | Metal cannulae only, heavy debris | High – can scratch, gouge, or create micro-abrasions | Never use on plastic or coated surfaces | |
| Core/Wire | Twisted wire (exposed) | Simple, low-cost | Medium-High – wire can scrape inner walls if exposed | Avoid in flexible or narrow lumens unless fully covered by bristles |
| Coated wire/Plastic core | Sensitive channels, flexible tubes | Low – smooth core prevents scratching | Preferred for endotracheal tubes | |
| Tip Style | Plain blunt cut | General, when tip does not contact end | Low-Medium – depends on wire exposure | Can scratch if core protrudes |
| Ball end or tufted tip | Blind channels, safety-critical | Very Low – rounded tip minimizes puncture and scratching | Essential for delicate closed-end cannulae |
How to Choose the Right Brush
Match the brush to the device’s exact dimensions and soil type. Measure the internal diameter (ID) precisely; select a brush diameter 0.5–1 mm smaller than the ID to prevent binding and abrasion. Check the channel length to ensure the brush reaches the distal end without excessive flex. For closed-end channels, a ball- or tufted-tip design is critical. Bristle stiffness should be just enough to dislodge the residue: dried mucus or biofilm may require medium stiffness, but always start with the softest option that works. Consider the wet cleaning process—enzymatic presoaks or ultrasound can reduce the need for aggressive brushing. Finally, evaluate documentation needs: if validation records or lot traceability are required, choose brushes with documented specifications.
Setup, Usage, and Wet Cleaning Process Factors
Always use a brush after gross soil removal and enzymatic soaking. Insert the brush gently, then rotate it while moving back and forth; the cleaning solution acts as a lubricant. Never force a brush or bend the core wire acutely. After cleaning, rinse the brush thoroughly, inspect for bent bristles or exposed wire, and allow it to dry in a clean area. For channels that cannot be visually inspected, consider adjunct verification methods like borescope checks or protein residue tests to confirm cleaning efficacy.
Common Mistakes
- Using a brush that is too stiff or has a diameter too close to the channel ID, leading to micro-scratches.
- Ignoring tip damage—a deformed tip can scrape the channel wall with each pass.
- Applying metal brushes on plastic or silicone channels, causing irreversible surface damage.
- Assuming all nylon brushes are equally safe; some nylon formulations can be abrasive.
- Skipping presoaking for heavy soils, then applying excessive mechanical force.
- Using a brush with an exposed twisted-wire core in a narrow lumen, where the wire grinds against the wall.
When a Cannula Cleaning Brush Is Not Enough
A brush is just one part of a cleaning protocol. If the channel has hardened, calcified deposits, enzymatic soaking or chelating agents must precede brushing. Extremely delicate surfaces, such as certain coated instruments, may be damaged even by soft brushes; non-contact methods like ultrasonic cleaning or fluid flushing should be considered. For complex devices with multiple branches or very small diameters, off-the-shelf brushes might not reach all areas; custom-sized brushes or alternative cleaning tools may be necessary. Finally, a brush cannot replace validated sterilization—always follow the device manufacturer’s instructions for use (IFU) and your facility’s reprocessing protocol.
Final Takeaway
The safest cannula cleaning brush for most plastic medical channels features soft nylon bristles, a coated or plastic core, and a ball-end tip. Size the brush carefully to the exact internal diameter, and always pair it with proper wet chemistry to reduce the need for aggressive scrubbing. When uncertainty exists about compatibility or cleaning validation, consult the device manufacturer and perform a presoak test before committing to routine use.
Practical Use Note
In daily use, the practical test is simple: check whether the brush reaches the full contact area, removes the target residue, and leaves the surface in the required condition. Record what changes when access shape, residue type, manufacturer instructions, and whether the task is general cleaning or validated reprocessing changes, because many brush failures are caused by the working condition shifting rather than by the brush body alone.
Frequently Asked Questions
Can I use the same brush for endotracheal tubes and metal cannulae?
It is not recommended. Plastic tubes require soft, non-metallic brushes, while metal cannulae may tolerate stiffer or metallic bristles. Using a brush designed for one material on the other can cause damage or ineffective cleaning. Always designate brushes by device type.
How often should I replace a cannula cleaning brush?
Replace the brush as soon as you notice bent, missing, or matted bristles, an exposed core wire, or any damage to the tip. Frequency depends on usage, but many facilities inspect brushes before each use and establish a maximum cycle count based on validation.
What diameter brush should I choose relative to the channel?
Select a brush 0.5 to 1 millimeter smaller than the channel’s internal diameter. This clearance allows the bristles to contact the wall without binding or causing excessive friction. A brush that is too snug can scratch the surface.
Are there disposable and reusable options?
Yes. Disposable, single-use brushes eliminate cross-contamination risk and are convenient for high-volume reprocessing. Reusable brushes must be thoroughly cleaned, inspected, and stored after each use; they are more economical over time but require strict handling procedures.
What if my facility uses an automated endoscope reprocessor (AER)?
Manual brushing is often a required precleaning step even when an AER is used, because AER cycles cannot reliably remove all dried or adherent soils. Always check the device IFU and your AER’s validation for manual cleaning requirements.
Can I use a test tube brush as a substitute?
No. Test tube brushes are designed for laboratory glassware and typically have a bare wire handle, stiff bristles, and a sharp cut tip. These features can easily scratch or puncture medical channels. Stick to brushes specifically marked for medical use.
Do I need a brush with a handle or a luer lock?
It depends on your workflow. A fixed handle is sufficient for manual cleaning. A luer lock connection allows the brush to be attached to a syringe for simultaneous flushing and brushing, which can enhance cleaning in some protocols. Choose based on facility equipment and IFU recommendations.
How can I tell if the brush caused micro-damage?
Micro-damage is not always visible to the naked eye. Use a borescope or magnified visual inspection under good lighting to look for scratches, pitting, or surface roughness. If you suspect damage but cannot see it, surface protein or adenosine triphosphate (ATP) tests after cleaning may indicate residue hiding in micro-scratches—an indirect sign of channel compromise.