What Is Brush Dimension Measurement?
Brush dimension measurement is the process of capturing the geometric characteristics of a brush—such as diameters, lengths, bristle height, and trim length—so a manufacturer can reproduce or design a brush to exact requirements. Without consistent dimension documentation, even a small deviation in bore size or overall length can cause installation failure or premature wear.
Common Types of Industrial Brushes
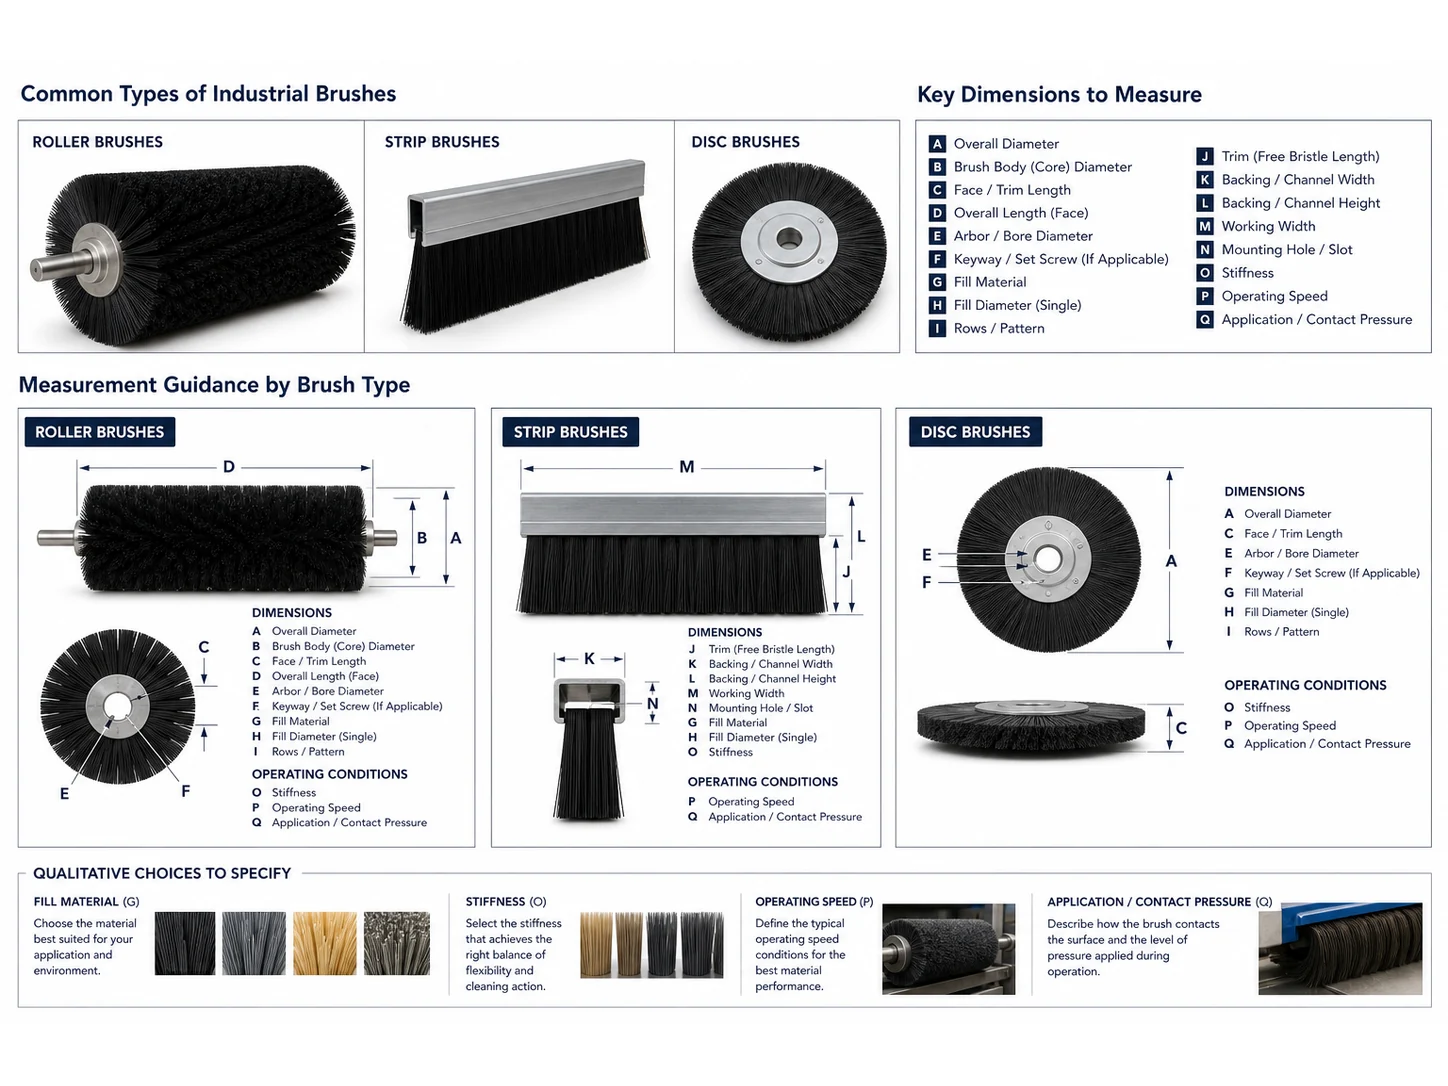
Most custom brush orders fall into three basic families. Each has its own measurement focus:
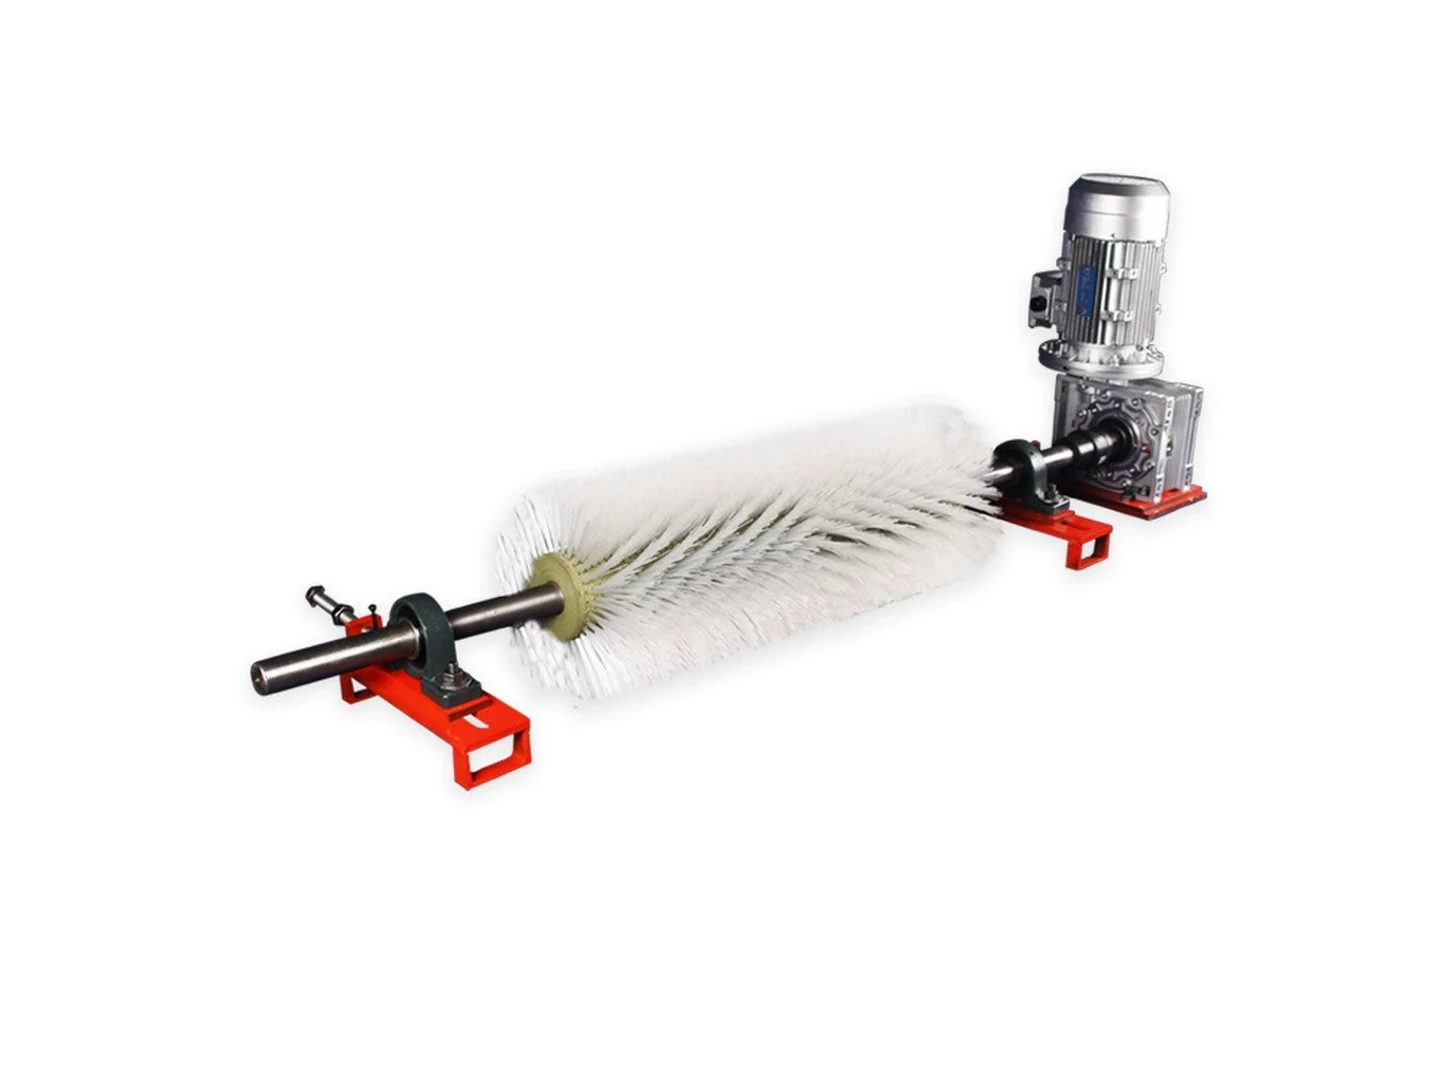
- Roller brushes mount on a shaft and rotate. Critical dimensions include outer diameter (OD), inner diameter (ID) or bore, and face length.
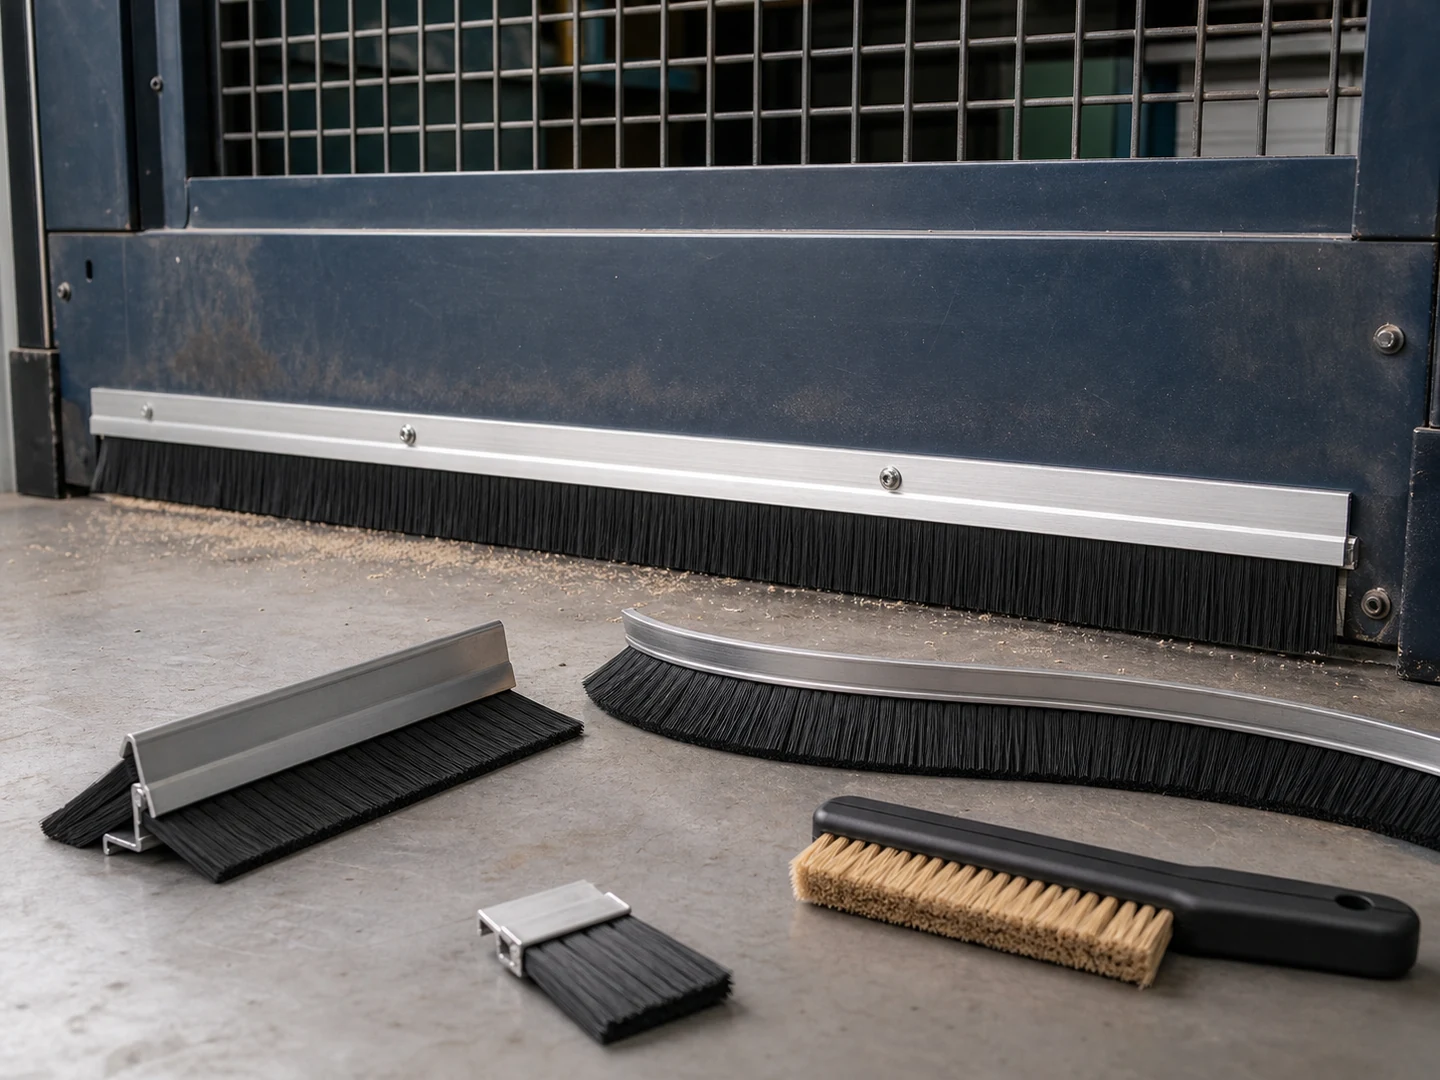
- Strip brushes are linear sections that install into a channel or holder. Key dimensions are overall length, back width, and bristle height.
- Disc brushes are flat, round tools often used in rotary applications. Important measurements include overall diameter, center hole diameter, and trim length.
Key Dimensions to Measure
Regardless of brush type, capturing the following dimensions will cover most custom orders:
- Outer diameter (OD): The overall diameter from bristle tip to bristle tip (roller and disc), or the back-to-tip height for strip brushes.
- Inner diameter (ID) / bore: The hole through the core where the shaft mounts (roller and disc).
- Overall length (OAL): The total length from one end of the core to the other (roller), the strip length (strip), or the full disc diameter (disc).
- Bristle height / trim length: The length of the exposed bristle measured from the face of the core or back to the tip. For trimmed brushes, this is the distance from the core to the cut end.
- Core diameter: For roller brushes, the diameter of the central tube or body without bristles; for strip brushes, the thickness and width of the backstrip.
- Face length: For roller brushes, the length of the area filled with bristles.
Measurement Guidance by Brush Type
Roller Brushes
For a roller brush, start by measuring the overall length of the core (end to end) and the face length (bristle-covered portion). Next, measure the outer diameter across the bristle tips, and then the inner bore diameter with a caliper. If a keyway or set-screw flat is present, document its size and location. Bristle height is the difference between the overall outer radius and the core radius.
Strip Brushes
Strip brush measurement focuses on the overall length of the strip, the back width (thickness and height of the metal or plastic channel), and the bristle height from the top of the back to the tip. If the brush has notched ends or mounting holes, note their positions relative to one end.
Disc Brushes
For a disc brush, measure the overall diameter and the center hole diameter. The trim length is the radial distance from the outer edge of the hub to the bristle tip. If the disc has a thicker hub section, include its thickness. For multiple-ring designs, document each ring’s diameter and bristle height separately.
| Dimension | Roller Brush | Strip Brush | Disc Brush |
|---|---|---|---|
| Outer diameter / overall height | ✔ | ✔ (as back + bristle height) | ✔ |
| Inner diameter / bore | ✔ | — | ✔ |
| Overall length | ✔ (core length) | ✔ (strip length) | ✔ (as OD) |
| Face length | ✔ | — | — |
| Bristle height / trim length | ✔ | ✔ | ✔ |
| Core / back dimensions | ✔ (core tube OD and wall) | ✔ (back width and height) | ✔ (hub thickness) |
Common Mistakes to Avoid
- Measuring a worn brush instead of a new one. Bristles shorten with use, and the core may distort. Always compare against the original specification or measure a brush that has not reached end-of-life.
- Mixing units of measure. Switching between inches and millimeters without clear labeling leads to errors. Pick one unit system and annotate clearly.
- Skipping tolerance information. A diameter measured as “2 inches” without a ± range can leave a supplier guessing. State acceptable tolerances, especially for bore fit and overall length.
- Ignoring mounting features. Keyways, set-screw flats, drive pins, or threaded hubs are easy to overlook but critical for assembly.
- Assuming all brushes of a type have the same dimensions. Even within the same machine, different positions may require slightly different lengths or bristle heights.
When Standard Measurement Isn’t Enough
A caliper or tape measure works for most straight‑forward shapes, but some brushes have complex geometry: contoured bristle faces, stepped cores, or non‑linear mounting structures. In these cases, standard measurement tools can miss critical details. Consider 3D scanning or CAD‑based reverse engineering when the brush has:
- Irregular outer profiles that follow a machine frame or product contour.
- Multiple bristle zones with different heights, densities, or materials on the same core.
- High‑precision requirements where tolerances tighter than ±0.010 inch (±0.25 mm) are needed.
- Mounting geometry that cannot be fully described with a few linear dimensions.
3D scanning captures the full surface geometry and exports a digital model that eliminates measurement ambiguity. It is a practical step when the cost of a mis‑made brush exceeds the scanning expense.
Final Takeaway
Clear, complete dimension documentation is the single most effective way to avoid rejected custom brushes. Use a consistent measurement method, always note whether the brush is new or worn, and include mounting details and reference surfaces. When the geometry gets complicated, move to a digital capture method. A well‑prepared dimension sheet saves time, money, and unnecessary downtime.
Frequently Asked Questions
What tools should I use to measure brush dimensions?
For most dimensions, a digital caliper (6 or 12 inch) and a steel ruler or tape measure are sufficient. A micrometer can help with very small tolerances, and an inside caliper or telescoping gauge is useful for measuring bores.
How do I measure bristle height on a worn brush?
Measure the remaining bristle length from the core to the tip on several spots around the brush. Note that this is the worn height, not the original trim length. If the brush design is to be replicated, try to measure an unworn section or estimate the original trim length from the manufacturer’s specification if available.
Can I measure a brush while it is still mounted on the equipment?
It is possible to obtain approximate dimensions, but accurate measurement is difficult. Bristles may be compressed, the view of the core may be obstructed, and the mounting hardware can hide key features. If possible, remove the brush and clean it before measuring.
What if my brush has a non‑standard bore shape, like a D‑profile or hex?
Measure the main diameter (for a D‑bore, this is the round part of the hole) and then measure the flat or the hex width across flats. Include a simple sketch or photograph with the dimensions called out, and note the depth of any special feature.
How should I document dimensions for a supplier?
Create a simple table or sketch with all dimensions clearly labeled in one unit system. Include the brush type, material notes, and any tolerance requirements. Photographs with a scale reference (like a ruler placed next to the brush) are helpful for confirming your measurements.
When do I need to provide the brush orientation or rotation direction?
For brushes with an angled trim, flag, or directional bristle pattern, note the intended rotation direction. For strip brushes mounted in a channel, indicate which side is the working face. This ensures the bristle lay is correct for the application.
Is it necessary to measure the bristle density or fill pattern?
While this guide focuses on physical dimensions, bristle density (number of tufts per row or per square inch) and fill pattern (straight, spiral, staggered) are also important to document. Include a close‑up photo showing the pattern, and if possible, count the number of rows and tufts per row.
Technical References
When are Strip Seal Brushes the wrong choice for custom orders?
- Strip Seal Brushes — Use rubber lips, foam, labyrinth seals, air curtains, or rigid scrapers when pressure sealing or liquid containment is required.
- Roller and Conveyor Brushes — Use a stationary strip brush for a fixed linear seal or wipe, or another process when rotating line contact interferes with the product or cannot discharge the residue safely.
- Disc Brushes — Use a cylindrical brush when line contact and debris pickup matter more than a flat rotating footprint, or use another method when the surface cannot tolerate circular brushing.
What should replace Strip Seal Brushes for custom orders?
- Strip Seal Brushes — Strip brushes create a linear barrier or guide; machine-table brush plates distribute load and support products over a broad area. Closest alternative: Machine Table Brush Plates.
- Roller and Conveyor Brushes — Roller and conveyor brushes hold cylindrical line contact across a working width, including helix-wound builds where the filament path is set to move loosened material toward one side; a strip brush holds the same line without rotating, so it seals or wipes but cannot carry residue along the width.
- Disc Brushes — Disc brushes use a flat circular working face; cylindrical floor or roller brushes use tangential line contact and are better when debris pickup or continuous width contact is important. Closest alternative: Floor Scrubber Sweeper Brushes.