
Application
Tile Grout Cleaning
For Tile Grout Cleaning, the brush must reach the working area, disturb or collect soap scum / mold / mineral scale / grease / embedded dirt, and release it without creating unacceptable surface damage or process interference. Access space, brush movement, and cleaning method are the main factors in selecting the structure.
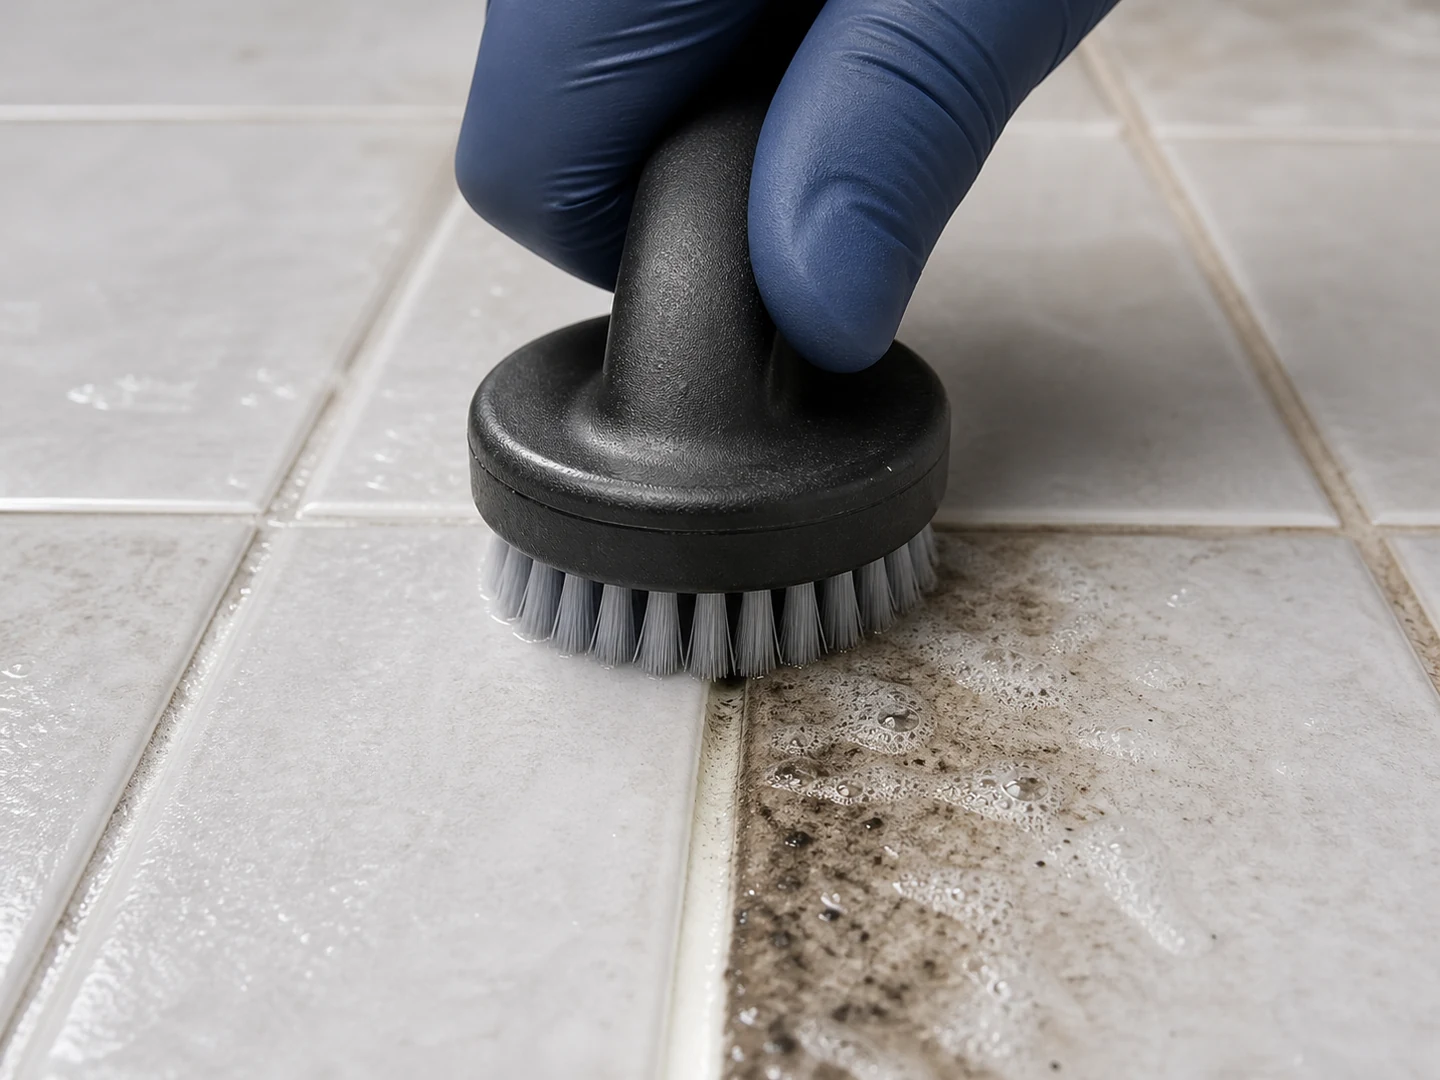
At a glance
- Cleaning target
- Soap scum / mold / mineral scale / grease / embedded dirt
- Working environment
- Indoor Wet Area / Commercial Sanitation Area
- Cleaning method
- Wet Brushing / Steam Cleaning
- Requirements to check
- Chemical compatibility with grout, sealant and tile surface
Grout sits below the tile face, so the brush has to reach into the joint without its edges riding up onto the glaze — a V-profile does that, a flat block does not.
What makes Tile Grout Cleaning different from other household and appliance cleaning?
The main difficulty is removing dust, oil, process residue, particles, and bonded contamination from tile joints, grout lines, corners, and textured floor edges without damaging the surface, loading the brush, or carrying contamination back into the process.
The work happens in indoor wet area and commercial sanitation area against soap scum, mold, mineral scale, grease and embedded dirt.
The part people get wrong: the surface, the residue and the access opening decide the brush together. Fix on any one of them alone and the geometry comes out wrong.
What are the most common cleaning targets in Tile Grout Cleaning?
One target, repeated across the whole tiled area: the grout line, which sits below the tile face and stays porous where the tile does not.
| Part or area | Residue type | Cleaning requirement |
|---|---|---|
| Tile Grout Line | Soap scum, mold, mineral scale, grease, embedded dirt | The head must reach the working face and apply even contact without marking the surface. |
The dimensional envelope those targets impose on the brush:
| Parameter | Typical range |
|---|---|
| Working width | 200–5000 mm |
| Roller diameter | 50–300 mm |
| Wrap angle | 10–180° |
| Bristle angle | 5–45° outward |
| Head width | 10–500 mm |
| Handle / reach | 150–6,000 mm |
Which brush types work for each cleaning target?
Narrow V-profile grout brush, angled hand brush or small powered head with guarded edges.
| Cleaning target | Recommended brush type | Why it fits |
|---|---|---|
| Tile Grout Line | Handheld Detail Brushes | Grout sits below the tile face in a narrow recessed line, so only a hand-guided head narrow enough to enter the joint reaches that soil at all. |
The layouts this application is normally built in:
- Driven brush — use when dust, oil, process residue, particles, and bonded contamination needs repeatable scrubbing or controlled relative movement
- Passive or free-running brush — use for loose contamination and lower process complexity on tile joints, grout lines, corners, and textured floor edges
- Localized hand, strip, or tube brush — use where only an edge, gap, port, or maintenance point needs contact
In practical brush terms: reach first, then residue. A brush that fits but is too soft can be stiffened; a brush that does not fit is simply the wrong tool.
What filament materials work best for Tile Grout Cleaning?
Firm nylon or PBT; abrasive filament only after grout and tile compatibility are tested.
| If the condition is… | Filament to start with | Why |
|---|---|---|
| Sensitive or coated surface | Nylon PA | balanced flex life and abrasion resistance |
| Wet, washdown, or detergent service | PA612 Nylon | low water absorption and strong bend recovery |
| Bonded residue or aggressive cleaning | Polypropylene PP | acid, alkali, water, and detergent resistance |
The constraints this application puts on the filament:
| Constraint | Value for this application |
|---|---|
| Filament hardness | Medium to Hard |
| Maximum service temperature | 80°C |
| Chemical exposure | Neutral, alkaline or acidic tile cleaner, typically pH 2–13 |
| Cleaning method | Wet Brushing, Steam Cleaning |
How do I choose the right brush for my tile grout equipment?
Joint width sets the V-profile, recess depth sets the trim, and the glaze beside the joint caps how stiff the fill may be.
The sequence that gets a usable sample first time:
- Identify the target part and measure the access opening or clearance
- Describe the residue: what it is, how thick it sits, and how strongly it holds
- Choose the construction that can physically reach that target
- Set the filament from surface risk, working temperature and cleaning chemistry
- Fix filament diameter, free trim length and density for the contact pressure you need
- Run one cycle and check the result before committing to a production quantity
Before you commit to a quantity, send the joint width, the recess depth below the tile face, and the tile finish beside it.
When is a tile grout brush the wrong tool?
Grout that is clean but permanently discoloured needs sealing or colour restoration, and grout that has failed needs raking out and replacing. Steam handles mould inside the joint without abrading a glaze the brush edge could otherwise reach.
What common mistakes should I avoid in Tile Grout Cleaning?
- Specifying joint length rather than joint width and the recess depth below the tile face
- Changing brush material while leaving excessive engagement, poor alignment, or no discharge path unchanged
- Copying a worn brush without recording motion, direction, mounting, and the original working diameter
When a brush is running but not cleaning, start here rather than adding pressure:
| Symptom | What to change |
|---|---|
| Residue remains | Increase relative motion or discharge, then change filament diameter or density; do not add pressure before checking loading by dust, oil, process residue, particles, and bonded contamination. |
| Surface marks or scratches | Reduce engagement, use finer or softer fill, and remove trapped abrasive particles from contact with tile joints, grout lines, corners, and textured floor edges. |
| Rapid wear or uneven cleaning | Check alignment, runout, support, motion, temperature, chemical attack, and whether the brush covers the complete working path. |
| Brush loads or redeposits residue | Open the fill pattern or add wash, vacuum, air, scraping, or a collection path so removed dust, oil, process residue, particles, and bonded contamination leaves the contact zone. |
Questions this page is asked
How should a brush-and-cleaner combination be test-patched on grout?
Choose a concealed representative joint and control cleaner dilution, dwell, brush angle, force, stroke count, rinse and drying time. Compare the dry patch with an untreated reference for color change, sealer loss, aggregate exposure, edge chipping and tile scratching before expanding the process.
What should a dry post-clean inspection distinguish in a grout joint?
Inspect after rinsing and full drying for remaining soil, cleaner residue, uneven color, softened joint edges, missing material, exposed aggregate and marks on the adjacent tile. Stop escalating brush stiffness when the remaining contrast is permanent staining or joint loss rather than removable surface soil.
Continue Exploring
Recommended Reading & Related Brush Resources
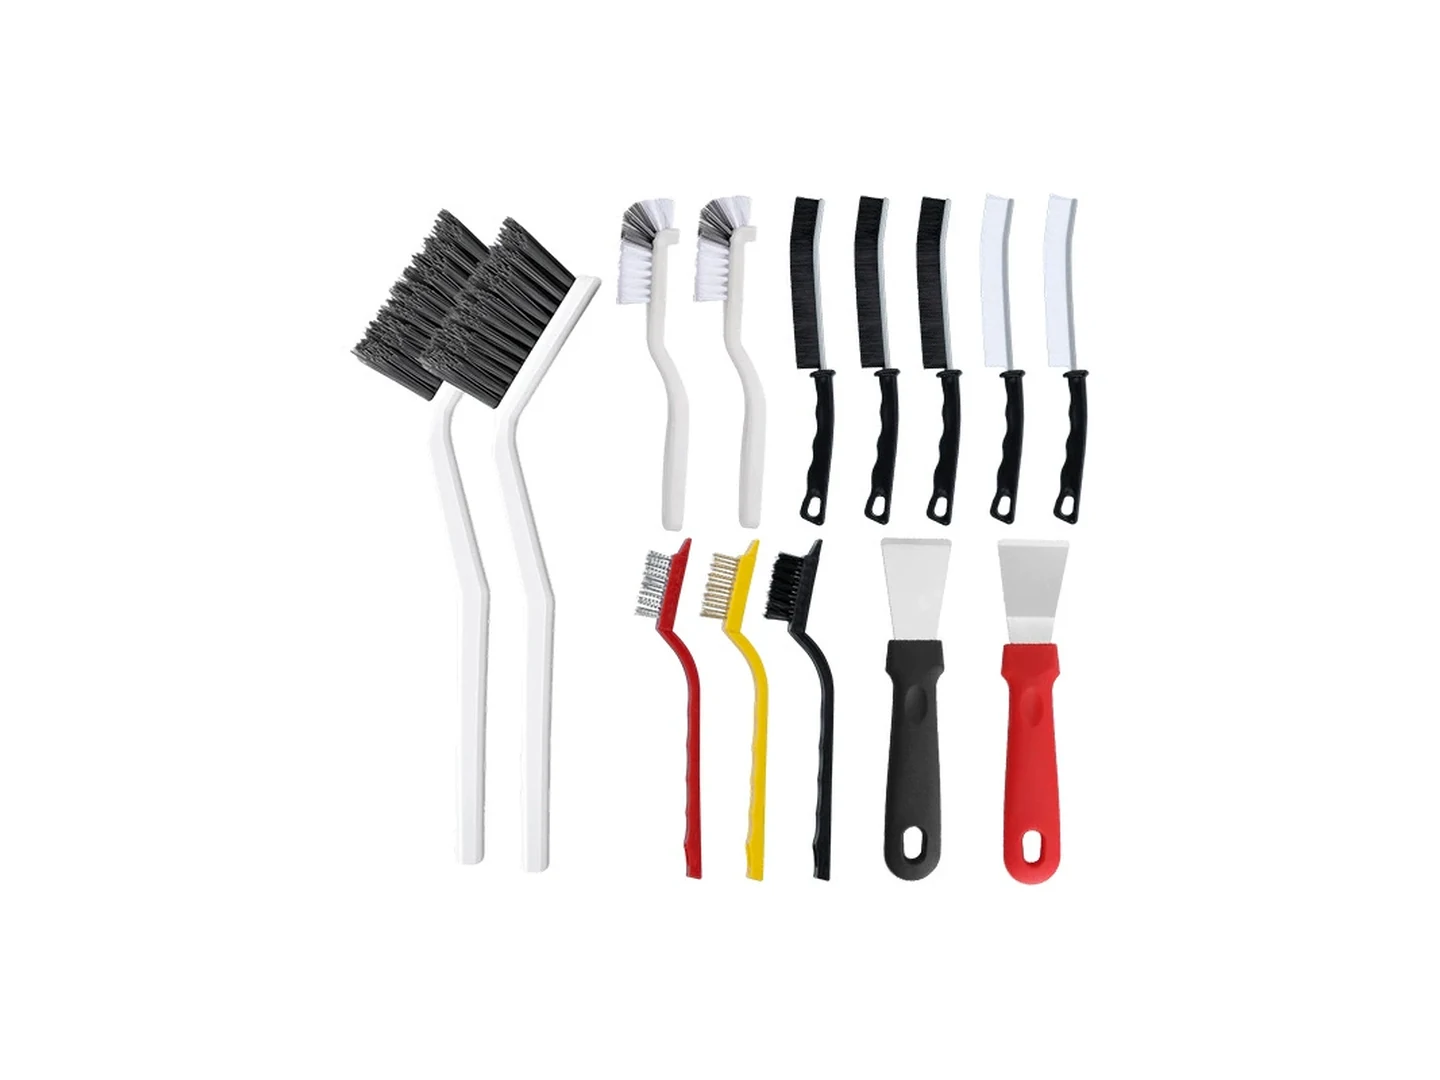
Grout Cleaning Brush
Narrow-profile nylon/PBT grout cleaning brush for tile joints, corners and tracks. Choose head width,…
See the specification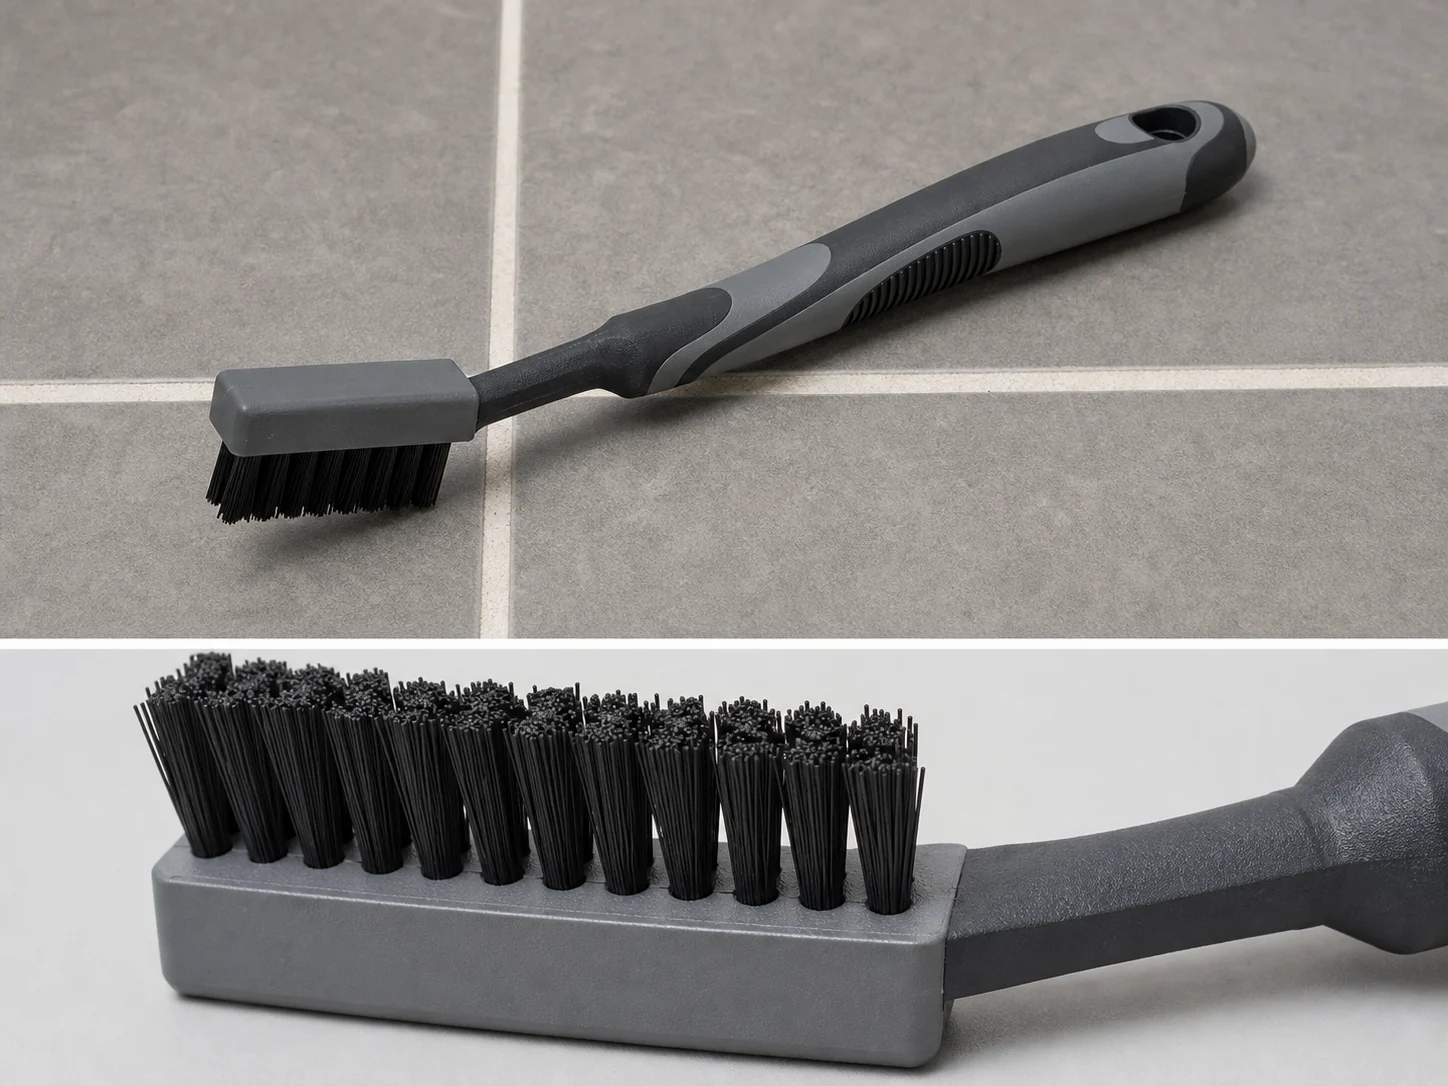
PA66 Grout Brush
Stiff, chemical-resistant PA66 nylon brush reaches tile grout lines, joints, and corners to remove…
See the specification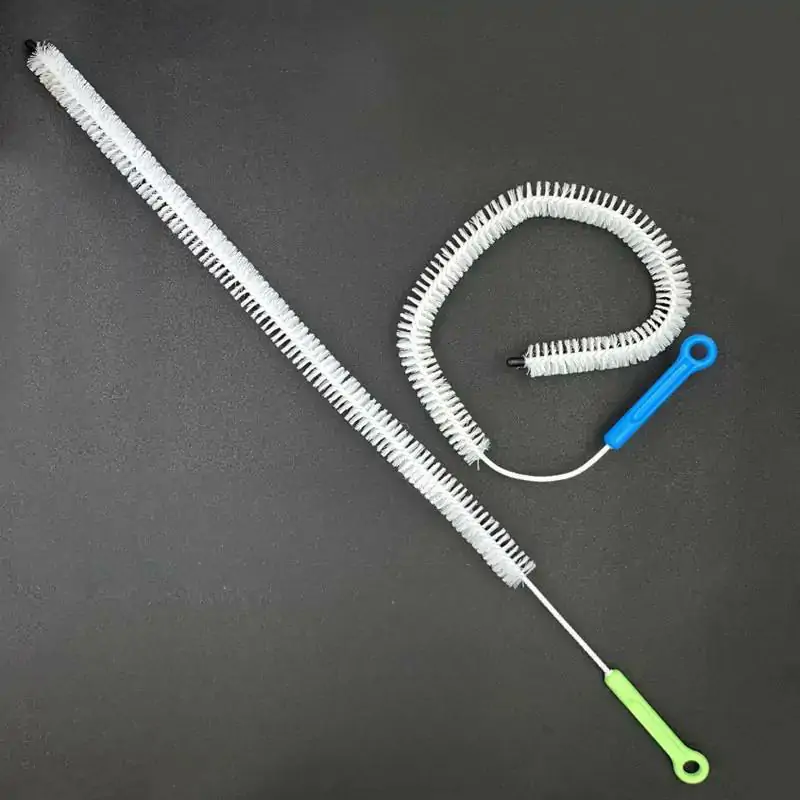
Long Handle Tub & Tile Cleaning Brush
Standing-reach tub, tile and grout scrub brush with nylon filament and PP handle. Custom…
See the specification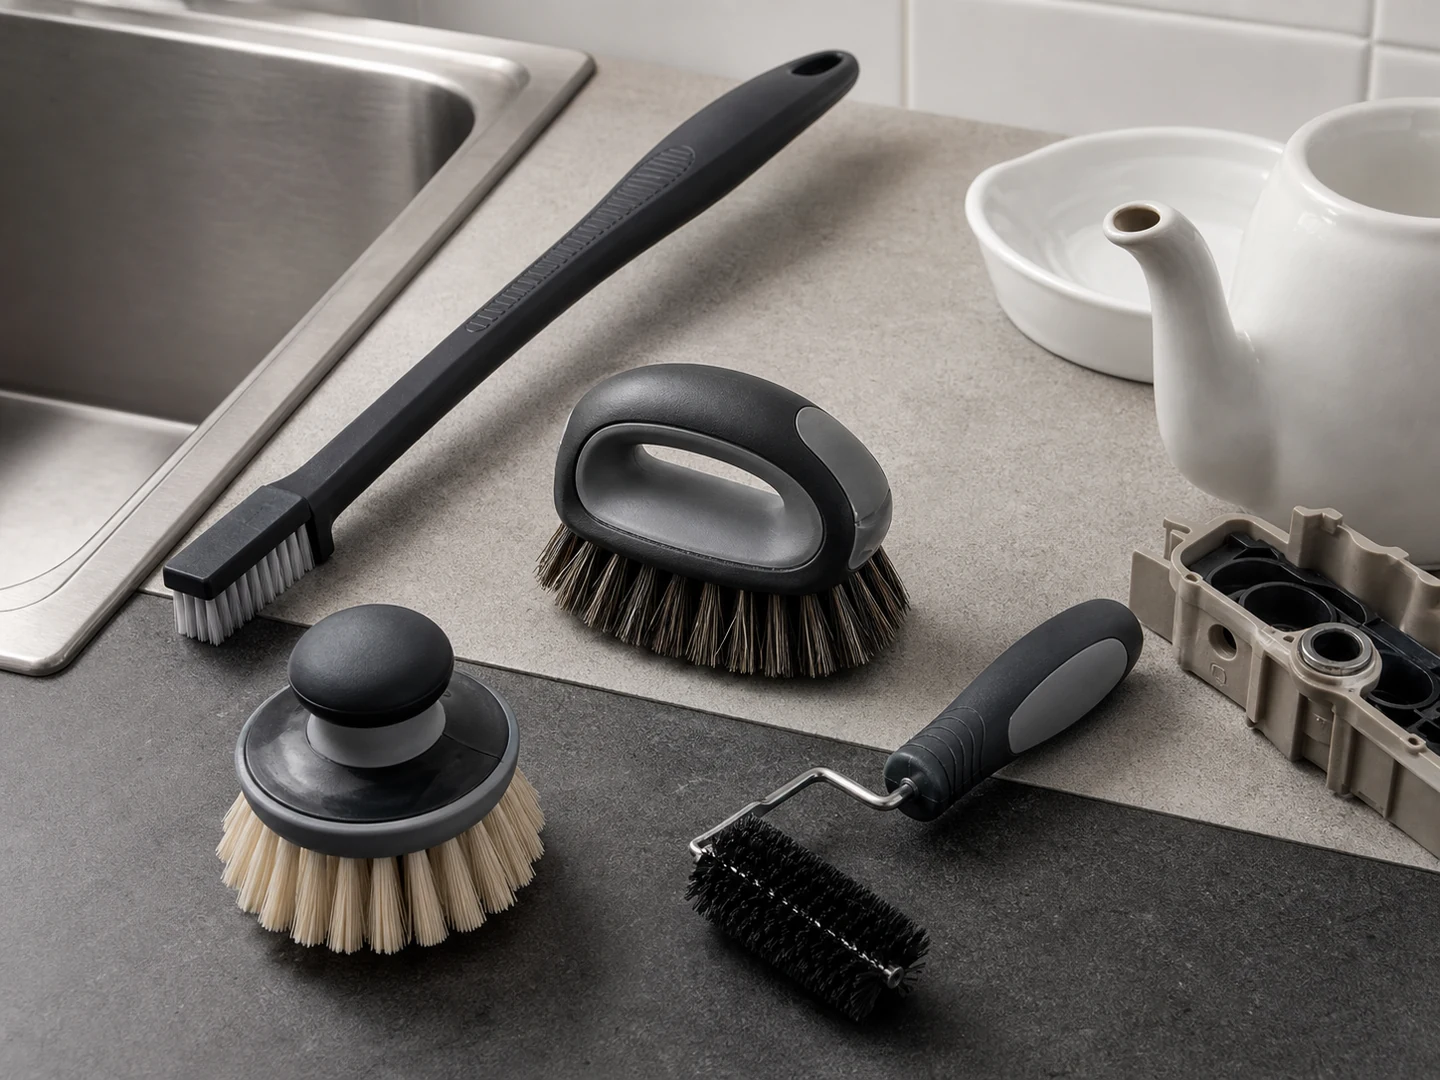
Custom Handheld Detail Brushes
Choose a handheld detail brush when you need direct control in seams, recesses, fittings,…
See how this type is builtCustom Manufacturing RFQ
Discuss This Application
Share the working surface, residue, dimensions, material direction, interface, quantity and drawing or sample photo.
Custom Brush RFQ
Request a Custom Cleaning Brush Quote
Upload a drawing, product photo, or sample photo and provide the core dimensions and cleaning conditions.
“We need a brush to remove wet residue from a stainless steel conveyor, about 800mm wide. The current brush wears quickly. We can send photos.”
“We sell drinkware and need a cleaning brush to include with the product. Quantity around 5,000 pieces.”