
Application
PCB Cleaning
For PCB Cleaning, the brush must reach the working area, disturb or collect flux/weld slag/dust, and release it without creating unacceptable surface damage or process interference. The suitable brush structure depends on access, the required contact motion, and the cleaning method.
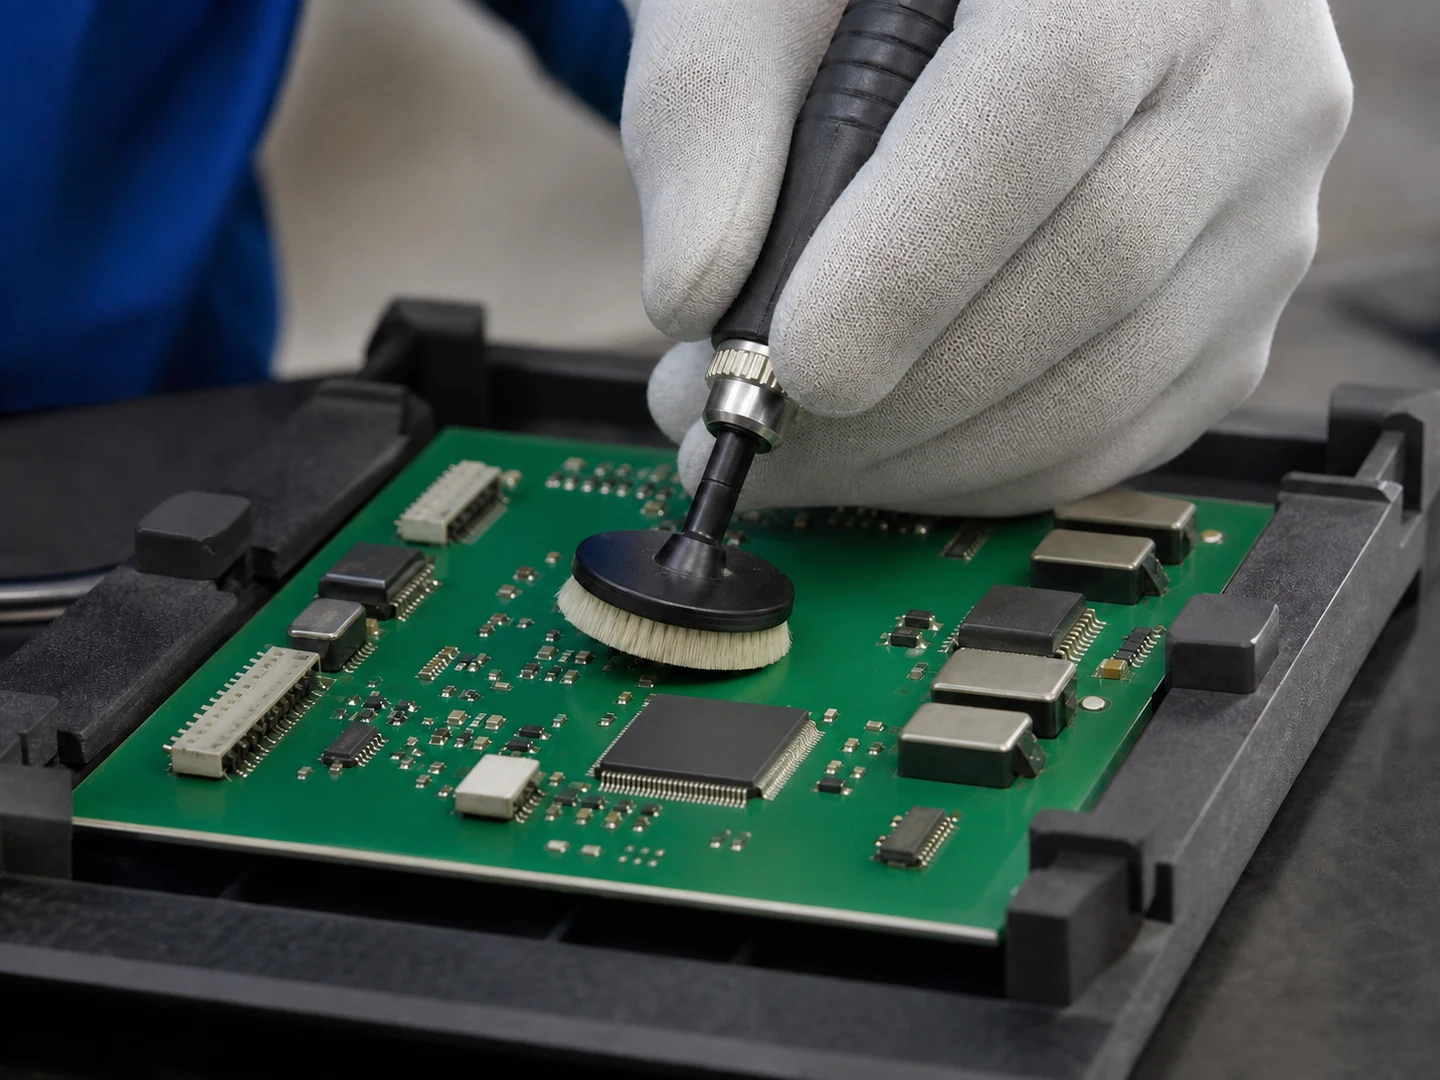
At a glance
- Cleaning target
- Flux/Weld Slag/Dust
- Working environment
- Dry Indoor Area / Cleanroom
- Cleaning method
- Dry Brushing / Wet Brushing / Ultrasonic Cleaning
- Requirements to check
- IEC 61340-5-1; IPC Process Specifications; ESD Control
A populated board is an electrostatic hazard before it is a dirty surface, so board brushes are specified by measured surface resistance first and by flux or paste removal second.
What makes PCB Cleaning different from other electronics and precision cleaning?
The main difficulty is removing fine dust, oxide, fibers, toner, slurry, and static-charged particles from connectors, slots, PCB, wafers, print paths, and precision components without damaging the surface, loading the brush, or carrying contamination back into the process.
The work happens in dry indoor area and cleanroom against flux, weld slag and dust.
The part people get wrong: the surface, the residue and the access opening decide the brush together. Fix on any one of them alone and the geometry comes out wrong.
What are the most common cleaning targets in PCB Cleaning?
The work breaks into 5 targets. They look similar from outside the machine and behave nothing alike at the brush.
| Part or area | Residue type | Cleaning requirement |
|---|---|---|
| Flux-Residue | Flux residue and static-attracted particulate | The head must reach the working face and apply even contact without marking the surface. |
| ESD Dust Removal | Dust, powder and compacted fines | |
| Solder-Paste and Stencil | Flux residue and static-attracted particulate | |
| Through-Hole and Connector-Area | Flux, Weld Slag, Dust | |
| Rework and Repair |
The dimensional envelope those targets impose on the brush:
| Parameter | Typical range |
|---|---|
| ESD resistance | 10³–10⁹ ohms where required |
| Trim length | 10–40 mm; 5–40 mm |
| Mounting | Grounded handle, strip, plate, or machine holder; Grounded handle, strip, plate, shaft, or machine holder |
| Carbon or metal fiber diameter | 0.008–0.012 mm |
| Working width / head size | 3–500 mm |
| Contact load | 0.1–2 N/cm² |
Which brush types work for each cleaning target?
Hand detail brush, full-width process roller or miniature bore brush selected by assembly state.
| Cleaning target | Recommended brush type | Why it fits |
|---|---|---|
| Flux-Residue | Handheld Detail Brushes | Flux sits around and under the joints, so a hand-guided head works it out from between the leads instead of spreading it across the board. |
| ESD Dust Removal | Dust on a board is held there by charge, so a hand-guided dissipative head lifts it off without discharging into a device. | |
| Solder-Paste and Stencil | A stencil’s apertures have to stay exactly as cut, so a hand-guided head clears paste from the underside without touching the aperture walls. | |
| Through-Hole and Connector-Area | Through-holes and connector shells hold flux below the board surface, so a hand-guided head is worked at the hole rather than across the board. | |
| Rework and Repair | Rework leaves flux and solder balls in one small area, so a hand-guided head cleans that site alone without disturbing the joints around it. |
The layouts this application is normally built in:
- Driven brush — use when fine dust, oxide, fibers, toner, slurry, and static-charged particles needs repeatable scrubbing or controlled relative movement
- Passive or free-running brush — use for loose contamination and lower process complexity on connectors, slots, PCB, wafers, print paths, and precision components
- Localized hand, strip, or tube brush — use where only an edge, gap, port, or maintenance point needs contact
In practical brush terms: reach first, then residue. A brush that fits but is too soft can be stiffened; a brush that does not fit is simply the wrong tool.
What filament materials work best for PCB Cleaning?
Soft nylon/antistatic filament for dust; fine abrasive nylon or nonwoven only in defined bare-board processes.
| If the condition is… | Filament to start with | Why |
|---|---|---|
| Sensitive or coated surface | Nylon PA | balanced flex life and abrasion resistance |
| Wet, washdown, or detergent service | Conductive Nylon | grounded conductive contact |
| Bonded residue or aggressive cleaning | PBT | stable wet stiffness and low moisture uptake |
The constraints this application puts on the filament:
| Constraint | Value for this application |
|---|---|
| Filament hardness | Soft–Medium |
| Maximum service temperature | 100°C |
| Chemical exposure | Isopropyl Alcohol/Electronics Cleaner/Deionized Water |
| Cleaning method | Dry Brushing, Wet Brushing, Ultrasonic Cleaning |
How do I choose the right brush for my pcb equipment?
Resistance requirement first, geometry second: the fill is chosen from a measured value, then sized to the component standoff it has to work under.
The sequence that gets a usable sample first time:
- Identify the target part and measure the access opening or clearance
- Describe the residue: what it is, how thick it sits, and how strongly it holds
- Choose the construction that can physically reach that target
- Set the filament from surface risk, working temperature and cleaning chemistry
- Fix filament diameter, free trim length and density for the contact pressure you need
- Run one cycle and check the result before committing to a production quantity
Before you commit to a quantity, send the required surface resistance, the board’s component standoff, and the residue you are removing.
When is a PCB brush the wrong tool?
Aqueous or solvent cleaning in a batch machine removes ionic flux residue to a measurable cleanliness level that brushing cannot claim. Never brush under a fitted BGA or a low-standoff component: the bristle does not enter, and what it dislodges lodges further in.
What common mistakes should I avoid in PCB Cleaning?
- Not stating the required surface resistance, which decides the filament before any geometry does
- Changing brush material while leaving excessive engagement, poor alignment, or no discharge path unchanged
- Copying a worn brush without recording motion, direction, mounting, and the original working diameter
When a brush is running but not cleaning, start here rather than adding pressure:
| Symptom | What to change |
|---|---|
| Residue remains | Increase relative motion or discharge, then change filament diameter or density; do not add pressure before checking loading by fine dust, oxide, fibers, toner, slurry, and static-charged particles. |
| Surface marks or scratches | Reduce engagement, use finer or softer fill, and remove trapped abrasive particles from contact with connectors, slots, PCB, wafers, print paths, and precision components. |
| Rapid wear or uneven cleaning | Check alignment, runout, support, motion, temperature, chemical attack, and whether the brush covers the complete working path. |
| Brush loads or redeposits residue | Open the fill pattern or add wash, vacuum, air, scraping, or a collection path so removed fine dust, oxide, fibers, toner, slurry, and static-charged particles leaves the contact zone. |
Guides that go deeper on this
ESD-Control Brush Selection for Electronics and PCB Cleaning
Read this guideGuideHow to Choose PCB Cleaning and Deburring Brushes
Read this guideGuideAnti-Static Brush for PCBs: How Fast Does Charge Drain?
Read this guideGuideBrush Speed and Feed Factors for PCB Deburring
Read this guideGuideElectronics Cleaning Brush: Material and Size for PCB Dust
Read this guideGuideHow to Choose Carbon Fiber Brush for PCB Dust Removal
Read this guideGuideHow to Choose ESD Brush for PCB Dust Removal
Read this guideGuideHow to Choose the Right PCB Brush for Static-Sensitive Parts
Read this guideGuidePCB Brush Mistakes on Precision Carriers
Read this guideGuidePCB Brush vs Standard Brushes: Static-Sensitive Parts
Read this guideGuidePCB Brush: Specs for PCB Dust Removal
Read this guideGuidePCB Cleaning and Deburring: Which Disc Brushes Avoid Damage?
Read this guide15 guides are indexed against this one. The rest are in the technical resources library.
Continue Exploring
Recommended Reading & Related Brush Resources
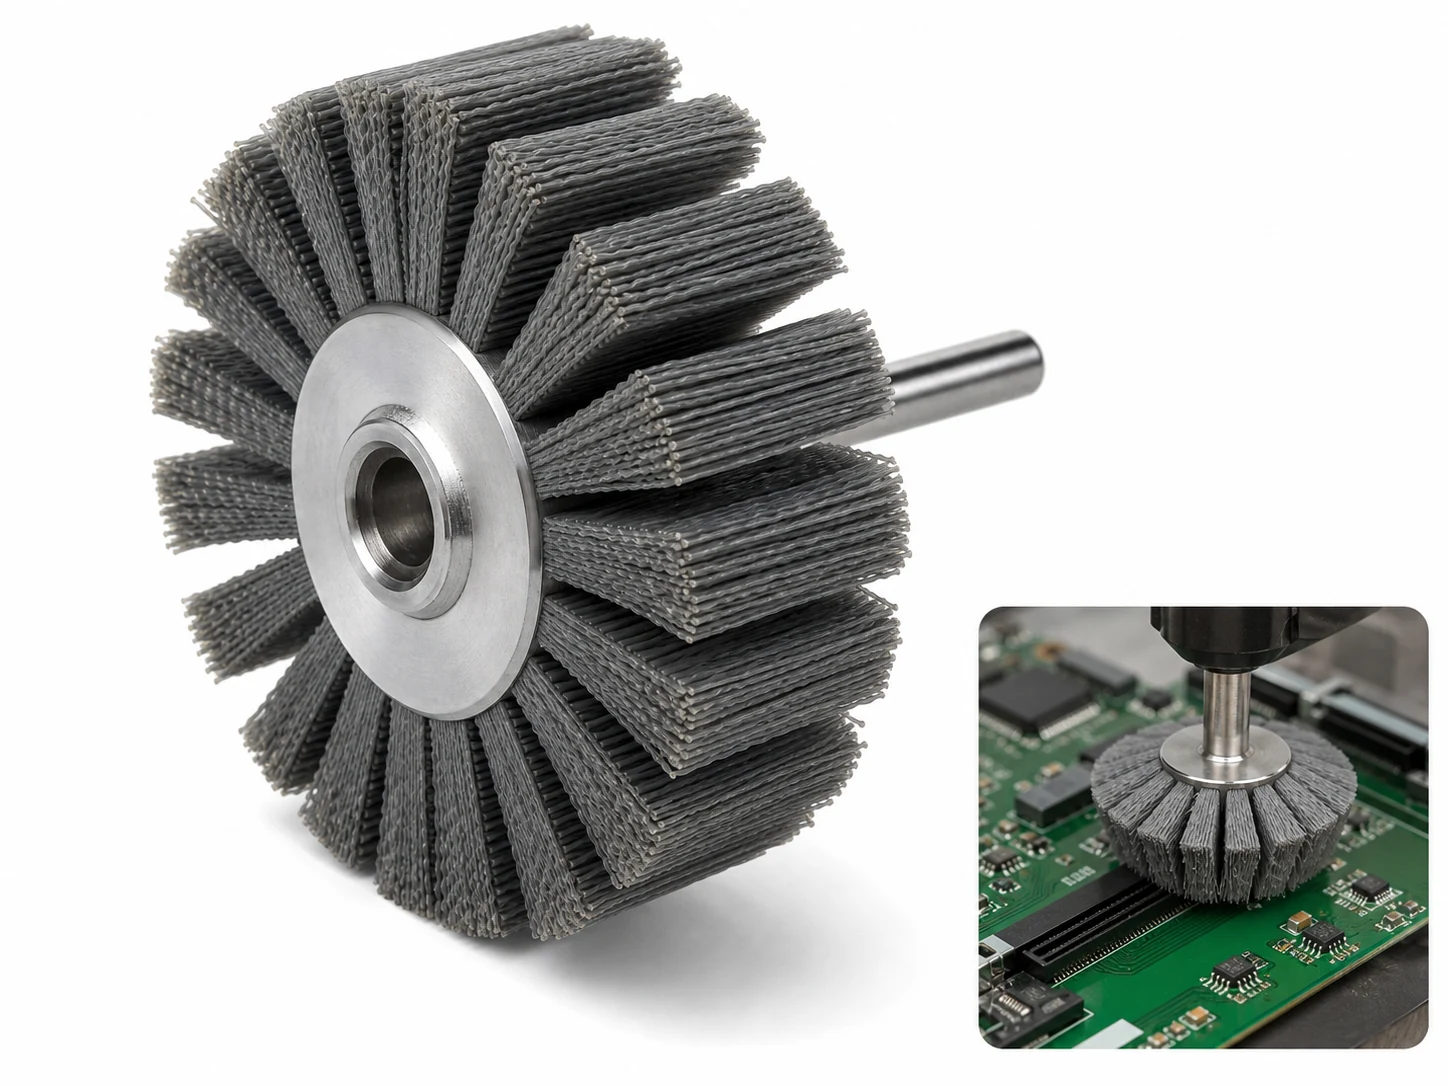
Disc Brush PCB
Shaft-mounted nylon disc brush for PCB cleaning: removes drilling dust, fiber, light oxide and…
See the specification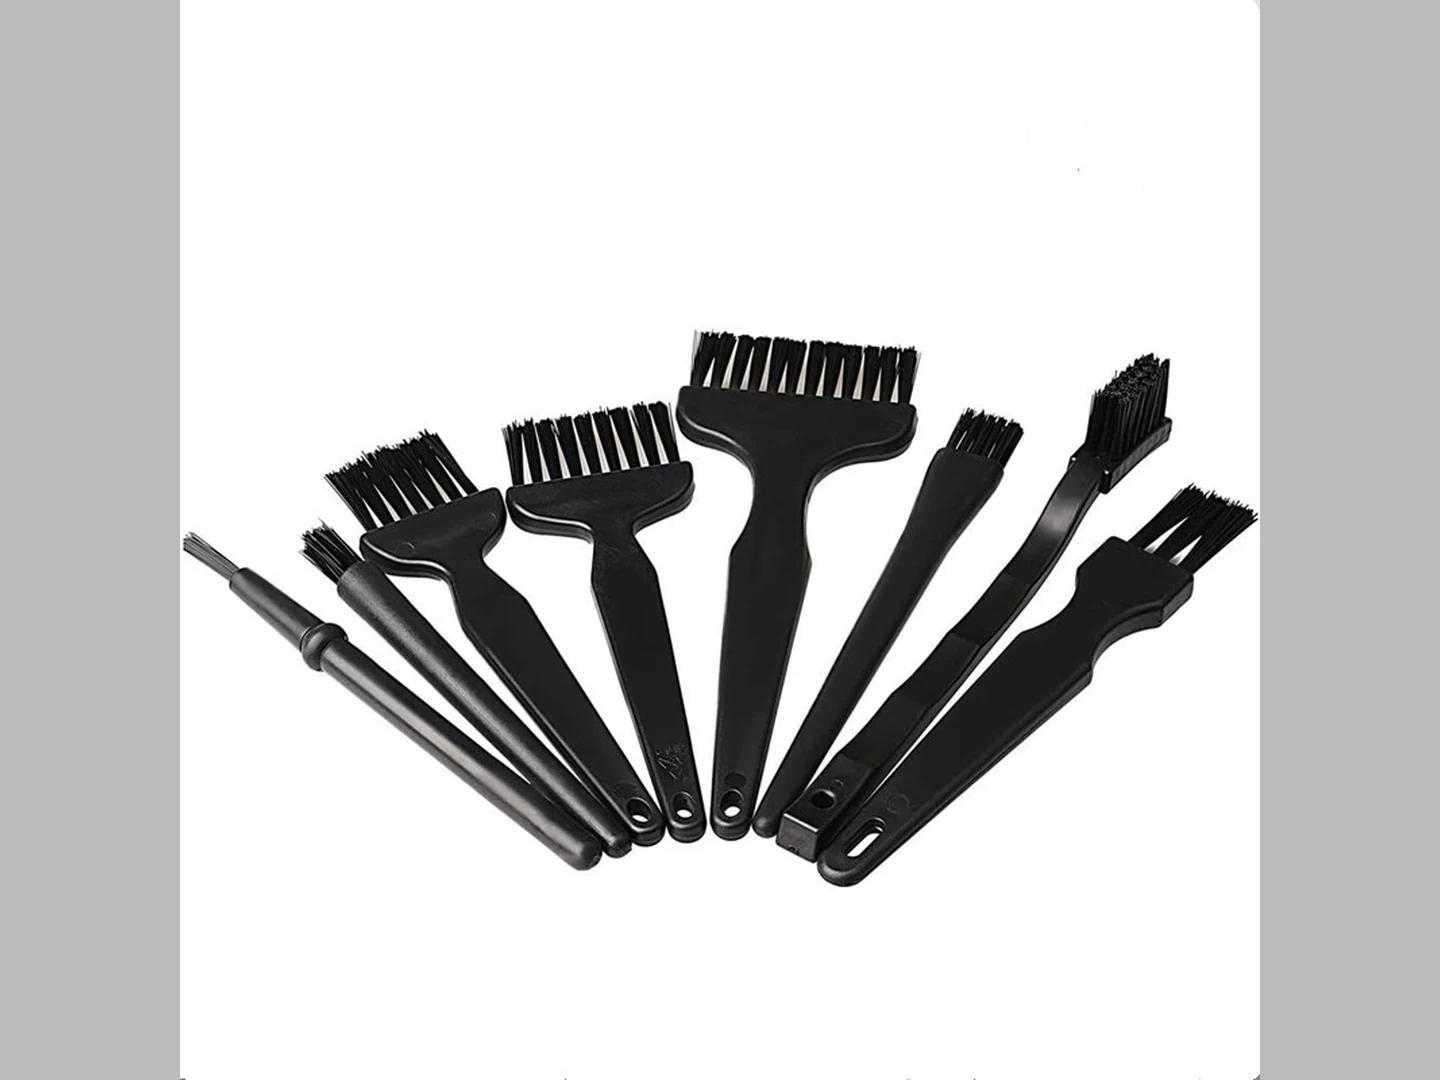
PCB Brush
Conductive nylon PCB brush for static-safe cleaning of boards, edge connectors, and optical surfaces.…
See the specification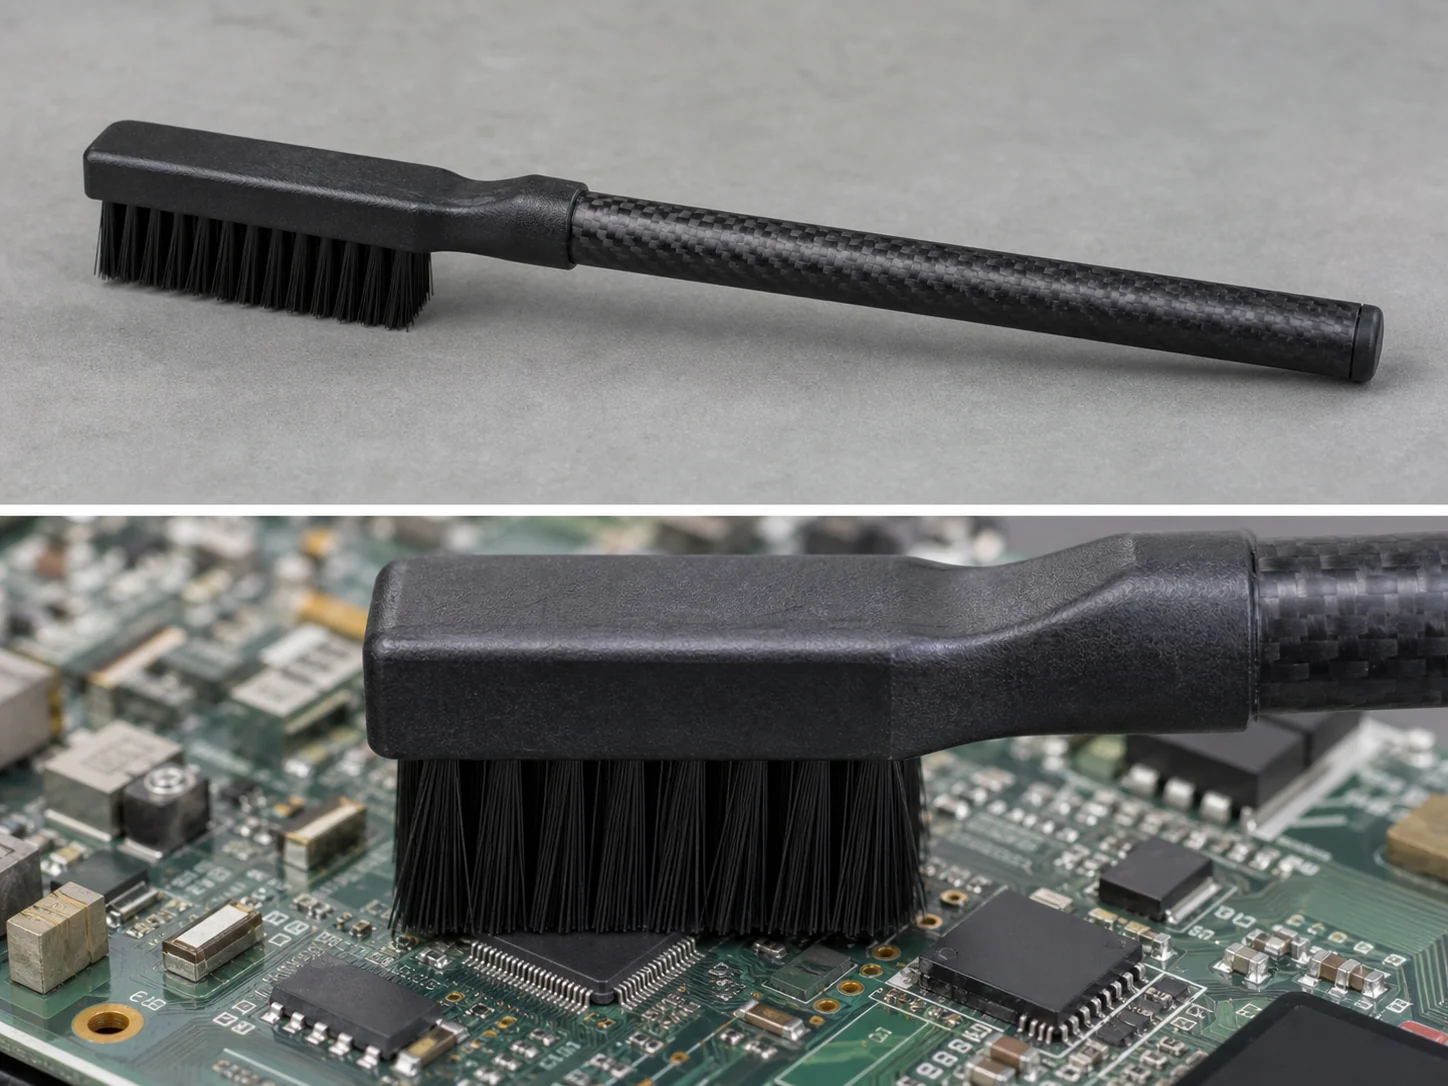
Conductive Nylon PCB Hand Brush
Conductive nylon PCB hand brush with carbon-fiber handle for flux, dust and particle removal…
See the specification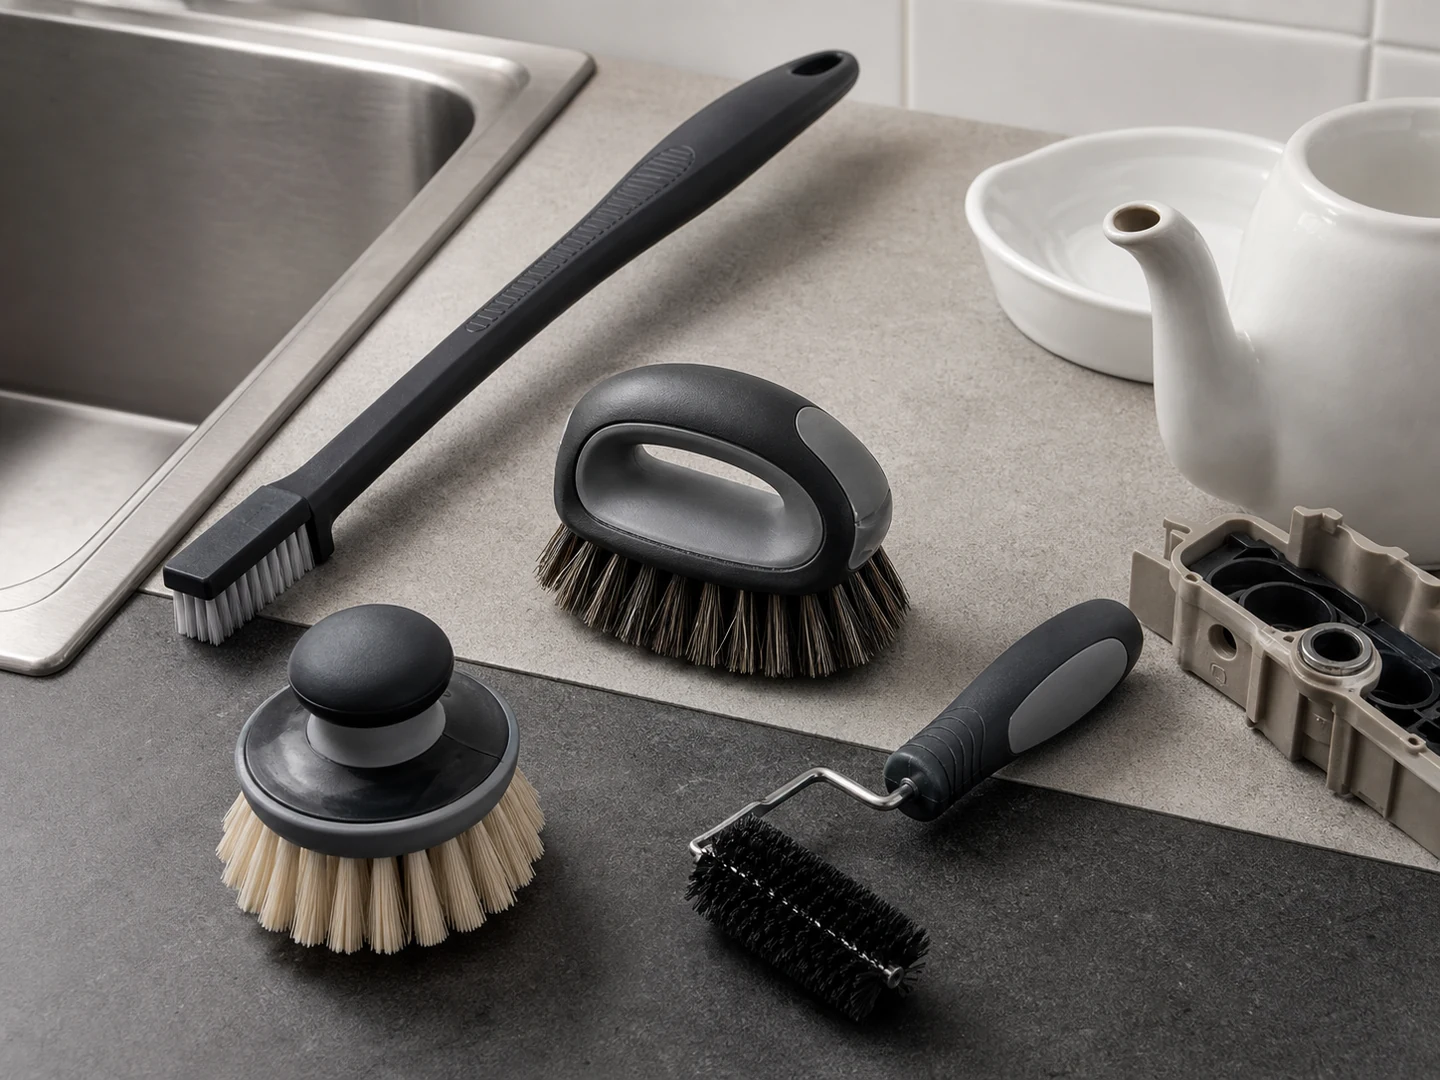
Custom Handheld Detail Brushes
Choose a handheld detail brush when you need direct control in seams, recesses, fittings,…
See how this type is built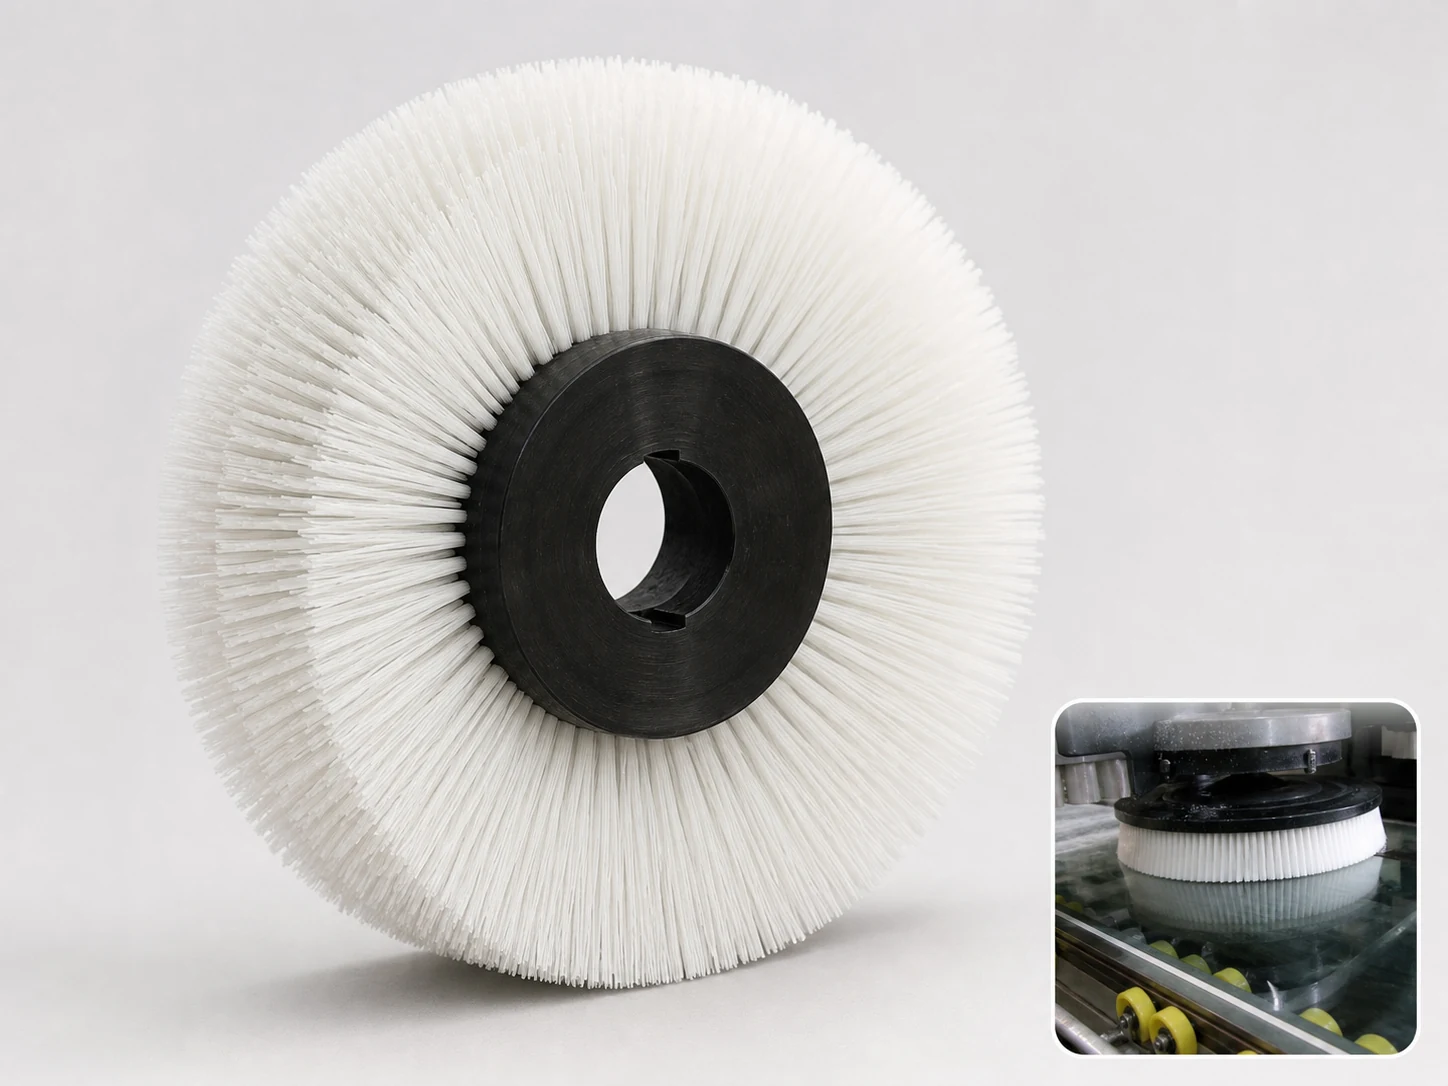
Custom Disc Brushes
Choose a disc brush when a circular face must scrub, wipe, polish, sweep, or…
See how this type is built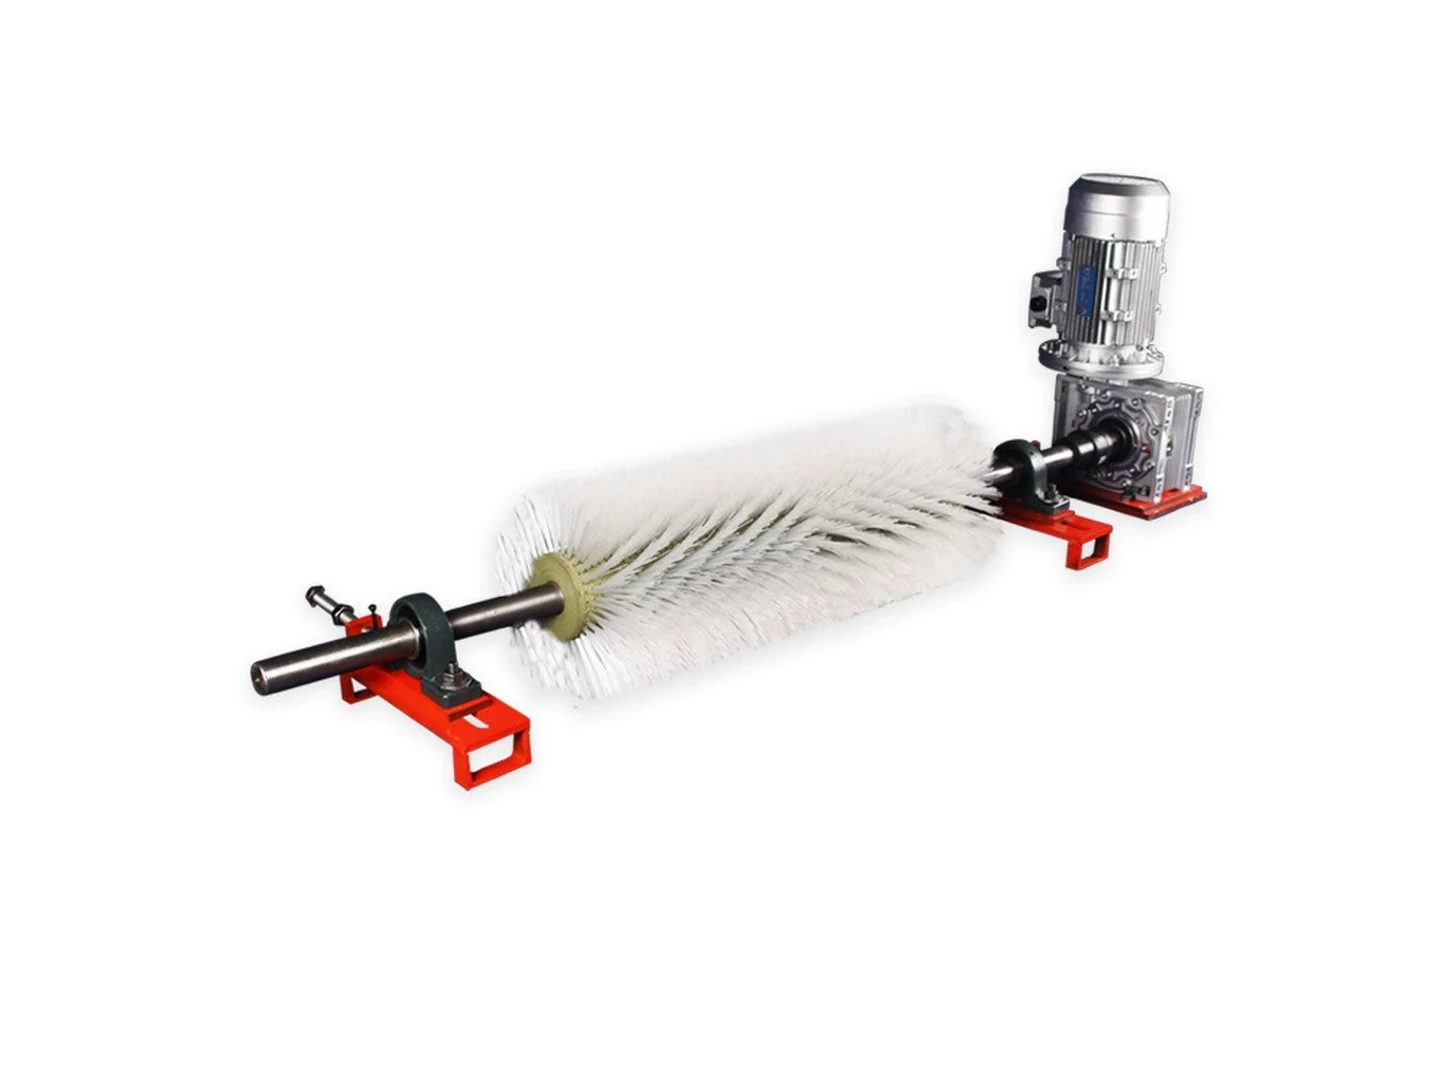
Custom Roller and Conveyor Brushes
Choose a roller or conveyor brush when a cylindrical brush must clean, wipe, guide,…
See how this type is built
Nylon PA
Choose Nylon PA based on its stiffness, recovery, wear, wet-service, chemical, and temperature behavior.
Compare this material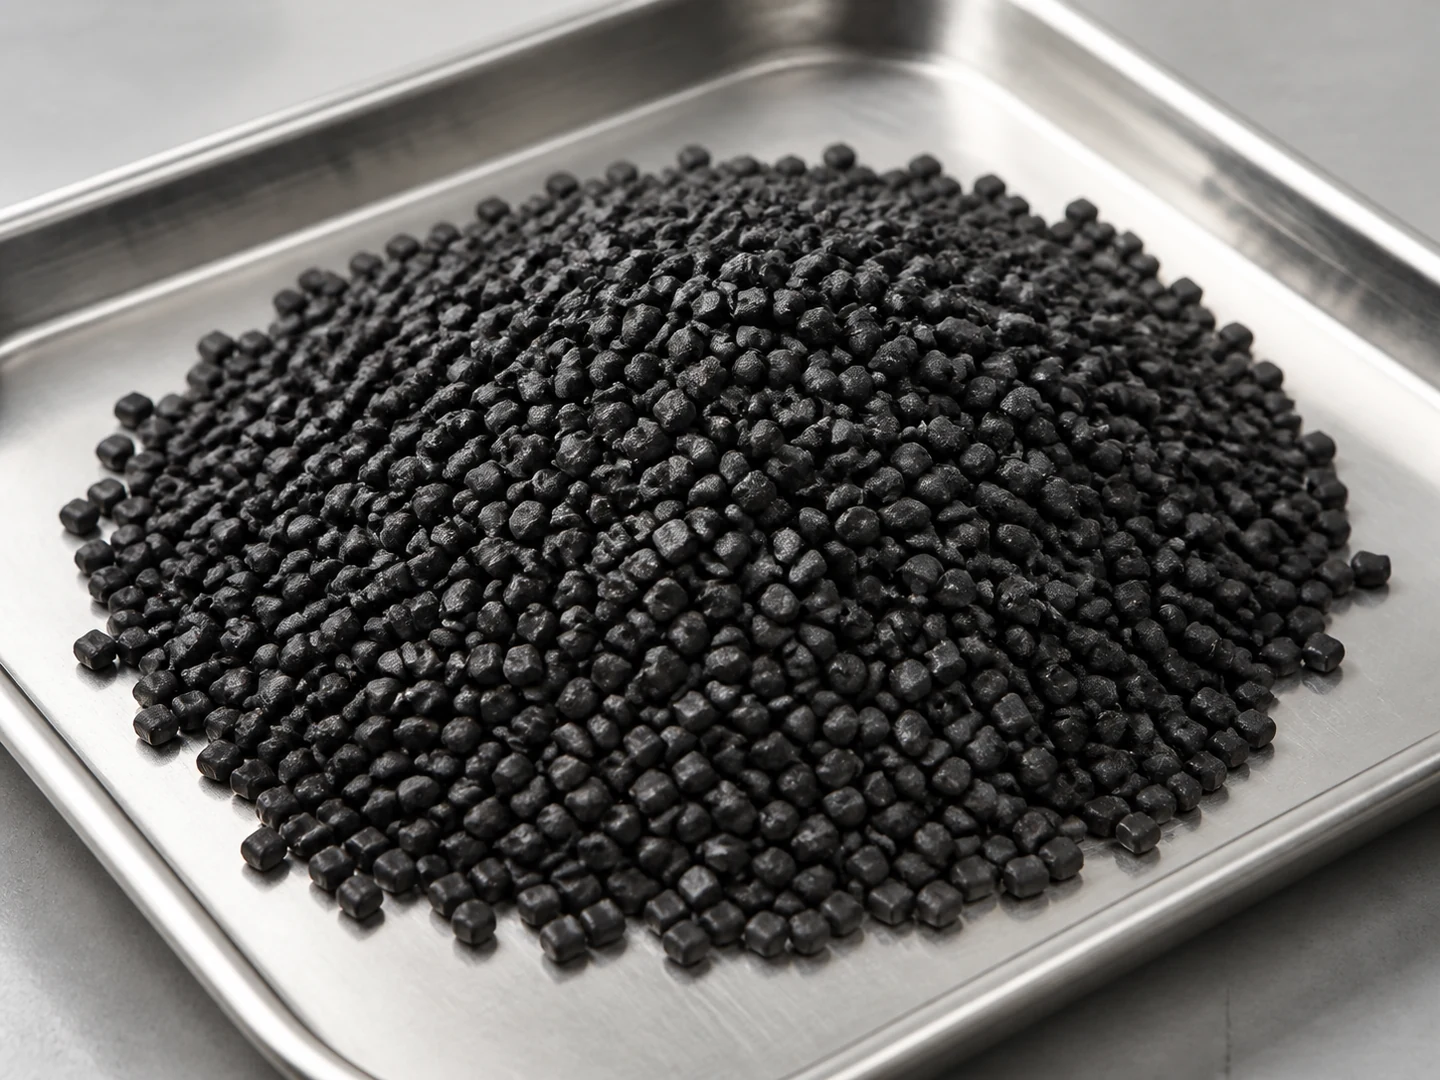
Conductive Nylon
Choose Conductive Nylon based on its stiffness, recovery, wear, wet-service, chemical, and temperature behavior.
Compare this materialCustom Manufacturing RFQ
Discuss This Application
Share the working surface, residue, dimensions, material direction, interface, quantity and drawing or sample photo.
Custom Brush RFQ
Request a Custom Cleaning Brush Quote
Upload a drawing, product photo, or sample photo and provide the core dimensions and cleaning conditions.
“We need a brush to remove wet residue from a stainless steel conveyor, about 800mm wide. The current brush wears quickly. We can send photos.”
“We sell drinkware and need a cleaning brush to include with the product. Quantity around 5,000 pieces.”