What Is a Multi‑Pass Brush Strategy?
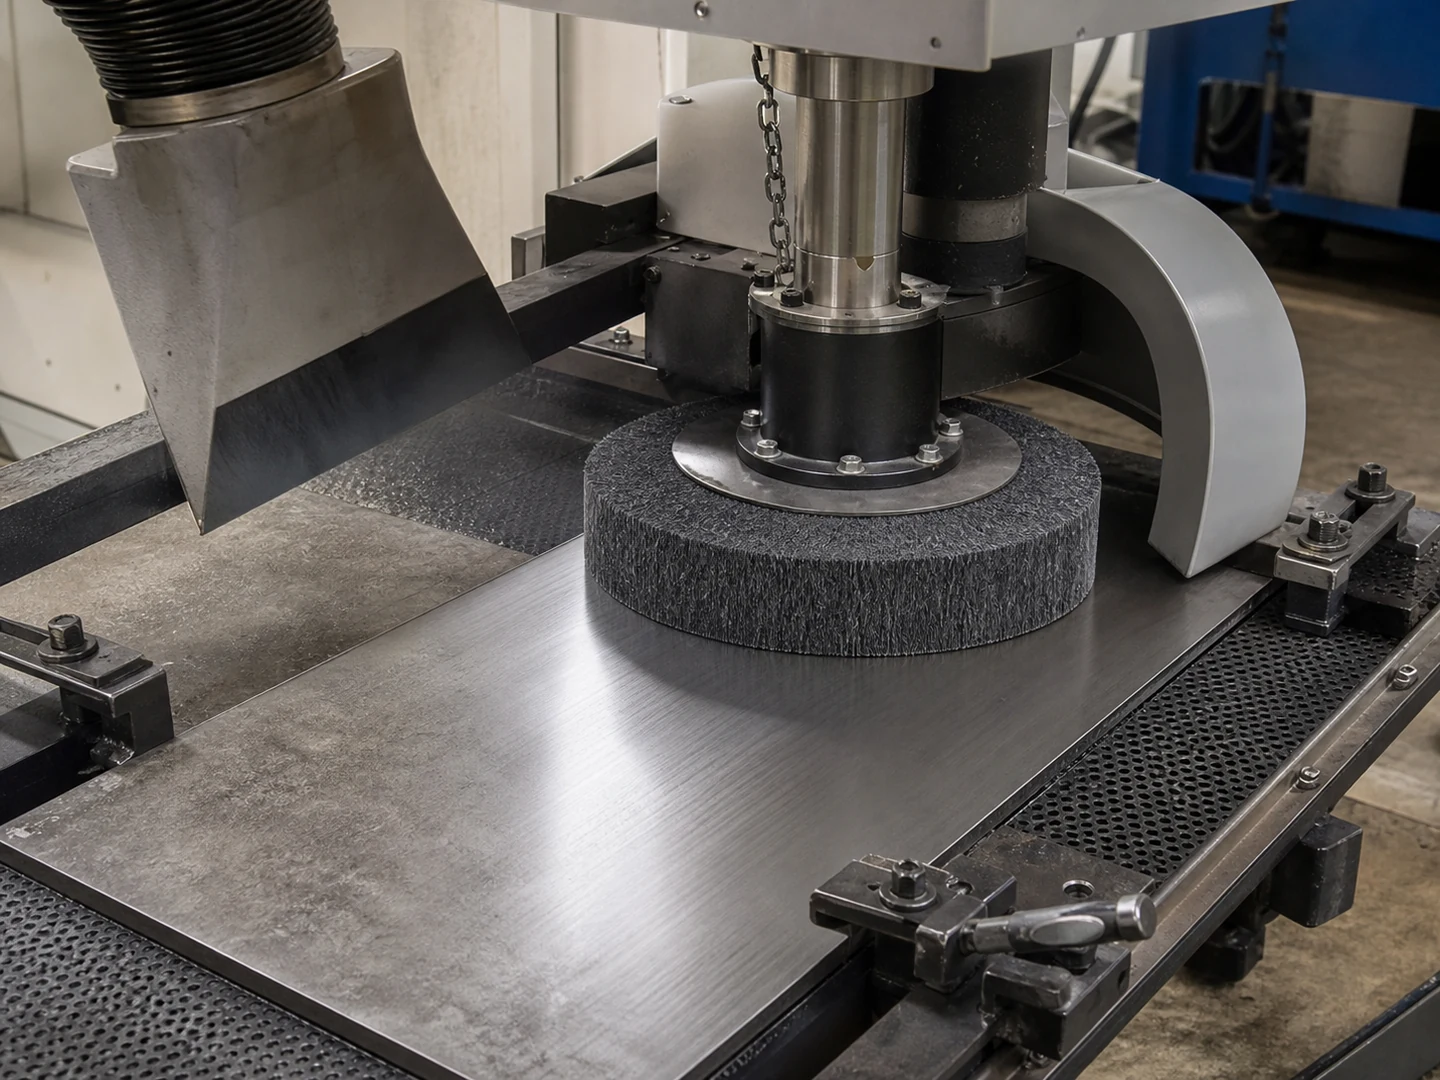
A multi‑pass brush strategy is a sequenced approach that uses two or more brush types or grades to transform a raw surface into the target finish. Instead of relying on one brush to do everything—often leading to slow cycle times, poor surface quality, or excessive brush wear—you divide the work into staged passes that progressively refine the surface.
Common Brush Pass Types and Their Roles
Most multi‑pass strategies follow a three‑stage logic, though the number of passes varies with the starting condition and final requirement.
| Pass Type | Primary Function | Typical Brush Characteristics |
|---|---|---|
| Rough Pass (Heavy Cut) | Remove bulk material, scale, heavy oxidation, weld discoloration, or deep scratches | Coarse wire brushes, abrasive‑filled nylon brushes with large grit, heavy‑duty rotary wire cup brushes |
| Intermediate Pass (Scratch Reduction) | Blend the surface, reduce roughness created by the rough pass, level peaks, and minimize deep scratches | Medium‑grit non‑woven abrasives, lighter wire brushes, or a first‑stage abrasive filament brush with moderate grit aggression |
| Finish Pass (Final Polish) | Achieve the required surface roughness, uniform appearance, or decorative grain, often with controlled brightness | Fine non‑woven brushes, soft abrasive filament brushes, polishing brushes, or dense brushes designed for smooth roller finishes |
Pass Sequence and Parameter Progression
The sequence between passes is not just about changing brushes; it also requires adjusting operational parameters.
- Pressure and contact force: Decrease from rough to finish pass. Heavy cuts use higher force, while finishing needs light, consistent pressure.
- Speed (RPM or linear travel): Often increases for finishing to generate a uniform surface without digging. Rough passes may use moderate speeds with high torque.
- Pass direction: Cross‑hatching between passes can break up scratch patterns and avoid deep directional lines.
- Brush density and filament type: Move from open, aggressive structures to denser, softer structures.
Example Multi‑Pass Process Designs
Below are two realistic scenarios that illustrate how pass logic translates to the shop floor.
Example A: Stainless Steel Weld BlendingGoal: Blend weld area to match base metal surface with minimal grain distortion.Pass 1 (Rough): Use a heavy‑duty stainless steel wire brush to knock down the weld crown and remove heat tint.Pass 2 (Intermediate): Switch to a medium‑grit non‑woven blending disc to smooth the wire marks and create a uniform matte surface.Pass 3 (Finish): Apply a fine non‑woven finishing wheel or a soft abrasive filament brush to match the base metal grain and brightness.
Example B: Aluminum Cosmetic Surface PreparationGoal: Uniform brushed finish with no visible deep scratches, ready for anodizing.Pass 1 (Rough): Coarse abrasive filament brush to remove casting marks and surface imperfections.Pass 2 (Intermediate): Medium‑grit non‑woven belt or wheel to blend the coarse scratches into a uniform satin direction.Pass 3 (Finish): Soft, fine abrasive filament brush or a polishing‑grade wheel to achieve the required anodizing‑ready Ra value.
When a Single Brush Type Cannot Achieve the Target
A single brush approach runs into trouble when:
- The starting surface condition is too irregular or coarse: A finishing brush alone will wear out quickly or produce an uneven result.
- The required surface roughness span is too wide: Moving from a raw mill scale to a low‑Ra cosmetic finish demands material removal that fine brushes cannot deliver efficiently.
- Production cycle times must be minimized: Trying to use an intermediate brush for both rough and finish work can slow throughput dramatically.
- Consistent replication is required: Without distinct stages, variability in operator technique or brush condition leads to inconsistent final surface quality.
A multi‑pass strategy becomes necessary whenever the gap between the initial and target surface condition exceeds what one brush can bridge effectively.
Common Mistakes in Multi‑Pass Brushing
Avoid these errors that undermine a multi‑pass plan:
- Skipping the intermediate pass: Jumping directly from a coarse wire brush to a fine finishing brush often leaves deep scratch marks that the finish brush cannot remove.
- Using the same grit progression for every material: Aluminum, stainless steel, and carbon steel respond differently to abrasive aggression; a sequence that works for mild steel may gouge aluminum.
- Ignoring brush rotational speed changes: Keeping the same RPM for all passes, especially with different brush diameters, changes surface speed and can cause burning or poor blending.
- Not replacing worn rough brushes soon enough: Dull rough brushes force the operator to dwell longer, creating heat and inconsistent surface prep that affects later passes.
- Assuming more passes always mean better finish: Adding unnecessary passes increases cost and cycle time without proportional benefit; three passes often suffice when correctly designed.
Final Takeaway
Design your multi‑pass brush strategy by first measuring the gap between your current surface and the target. Select a rough pass that removes defects aggressively, an intermediate pass that homogenizes the surface, and a finish pass that locks in the final texture. Match pressure, speed, and direction changes to each stage, and validate with small‑batch trials before scaling.
When a Single-Pass Brush Setup Is the Wrong Choice
This brush is not enough when the main problem is blocked access, unsafe working conditions, damaged equipment, incompatible chemicals, or a process setting that keeps recreating the residue. In those cases, review base material, burr or oxide level, target finish, brush speed, pressure, and acceptable surface change and confirm the surrounding cleaning method before increasing brush stiffness or contact pressure.
Frequently Asked Questions
How many passes are typically needed for a brushed finish on stainless steel?
Most often three passes: a coarse pass to remove weld or mill marks, a medium pass to blend, and a fine pass to get the final grain. Two passes may work if the starting surface is already smooth, but skipping the intermediate pass usually leaves visible scratches.
Can I use a heavy‑duty wire brush as the only brush for a cosmetic finish?
No. A wire brush alone leaves deep scoring and a directional scratch pattern that does not meet cosmetic surface standards. You need a second or third pass with non‑woven or abrasive filament brushes to achieve a uniform, pleasing finish.
What is the difference between a rough‑pass wire brush and an intermediate abrasive brush?
A rough‑pass wire brush cuts aggressively and removes heavy material but creates deep scratches. An intermediate abrasive brush (non‑woven or medium‑grit abrasive filament) levels those scratches and begins creating a more uniform surface roughness, preparing it for the final polish.
Does a multi‑pass strategy require different speed settings for each pass?
Usually yes. Rough passes often work at a lower RPM with higher torque, while finish passes may need higher speeds with light pressure to achieve a consistent finish without loading the brush. Manufacturer recommendations for specific brush types should be followed.
When should I add a fourth pass?
A fourth pass may be necessary when the surface must meet an extremely tight roughness specification or when there is a need for a mirror‑like polish. It can also be added if the material is very soft or sensitive to scratching, where even the intermediate pass leaves marks that need an extra blending stage.
Is multi‑pass brushing only for metal surfaces?
No. The logic applies to wood, composites, painted surfaces, and plastics whenever you need to remove material first and refine the surface later. The brush types change, but the staged progression principle remains the same.
How do I test whether my multi‑pass sequence is correct before full production?
Run a small sample batch with the planned brushes and parameters. Check surface roughness after each pass with a profilometer or visual comparison standards. Adjust pressure, speed, or grit choice based on the results, and document the final sequence for repeatability.
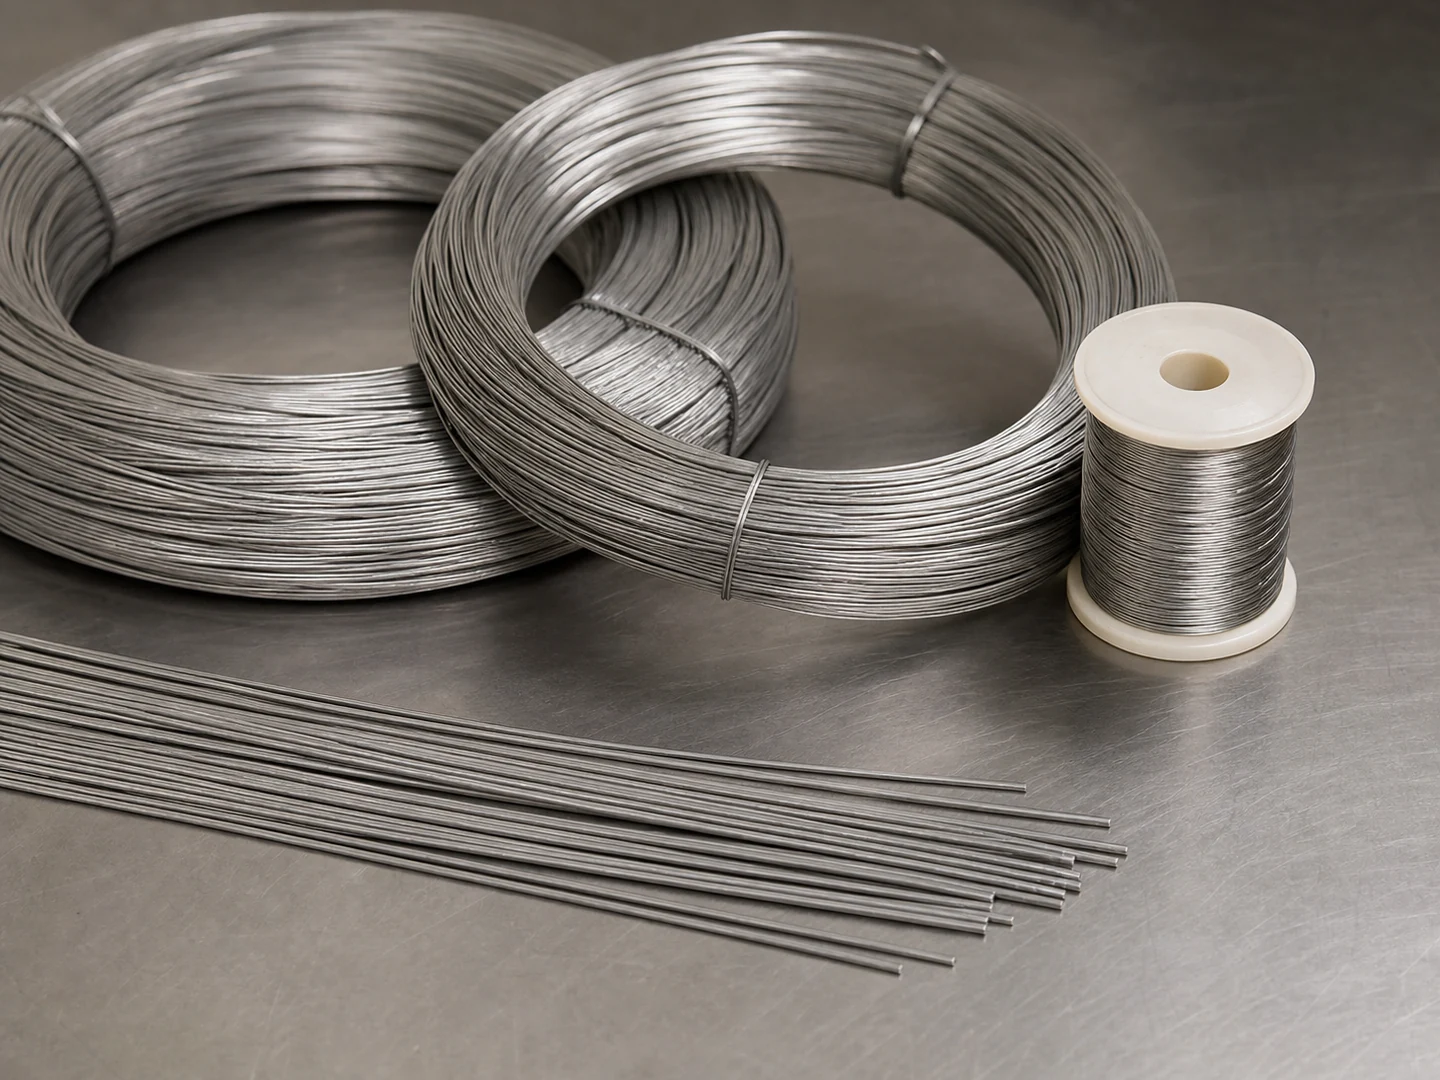
Which steel wire grade fits this job — AISI 304 Stainless Steel Wire, AISI 316 Stainless Steel Wire or Carbon Steel Wire?
| Wire grade | Continuous temperature (°C) | Peak temperature (°C) | Water absorption | Hardness |
|---|---|---|---|---|
| AISI 304 Stainless Steel Wire | 400 | 500 | 0% | Rockwell B 70–95 depending on temper and cold work |
| AISI 316 Stainless Steel Wire | 400 | 500 | 0% | Rockwell B 70–95 depending on temper and cold work |
| Carbon Steel Wire | 200–300 | 350–450 | 0% | Rockwell C 40–60 |
| Galvanized Steel Wire | 150–200 | 250–300 | 0% | Rockwell B 70–100 |
Figures as published by Alleima; Material manufacturer TDS / ISO / ASTM / industry reference. Confirm the exact grade against the supplier datasheet before ordering.
What should replace AISI 304 Stainless Steel Wire for surface finishing?
- AISI 304 Stainless Steel Wire — Use AISI 316 stainless steel wire for chloride, marine, dairy, beverage, chemical washdown, or higher pitting-resistance requirements. Use carbon steel for dry aggressive cutting and brass or abrasive nylon for lower marking risk.
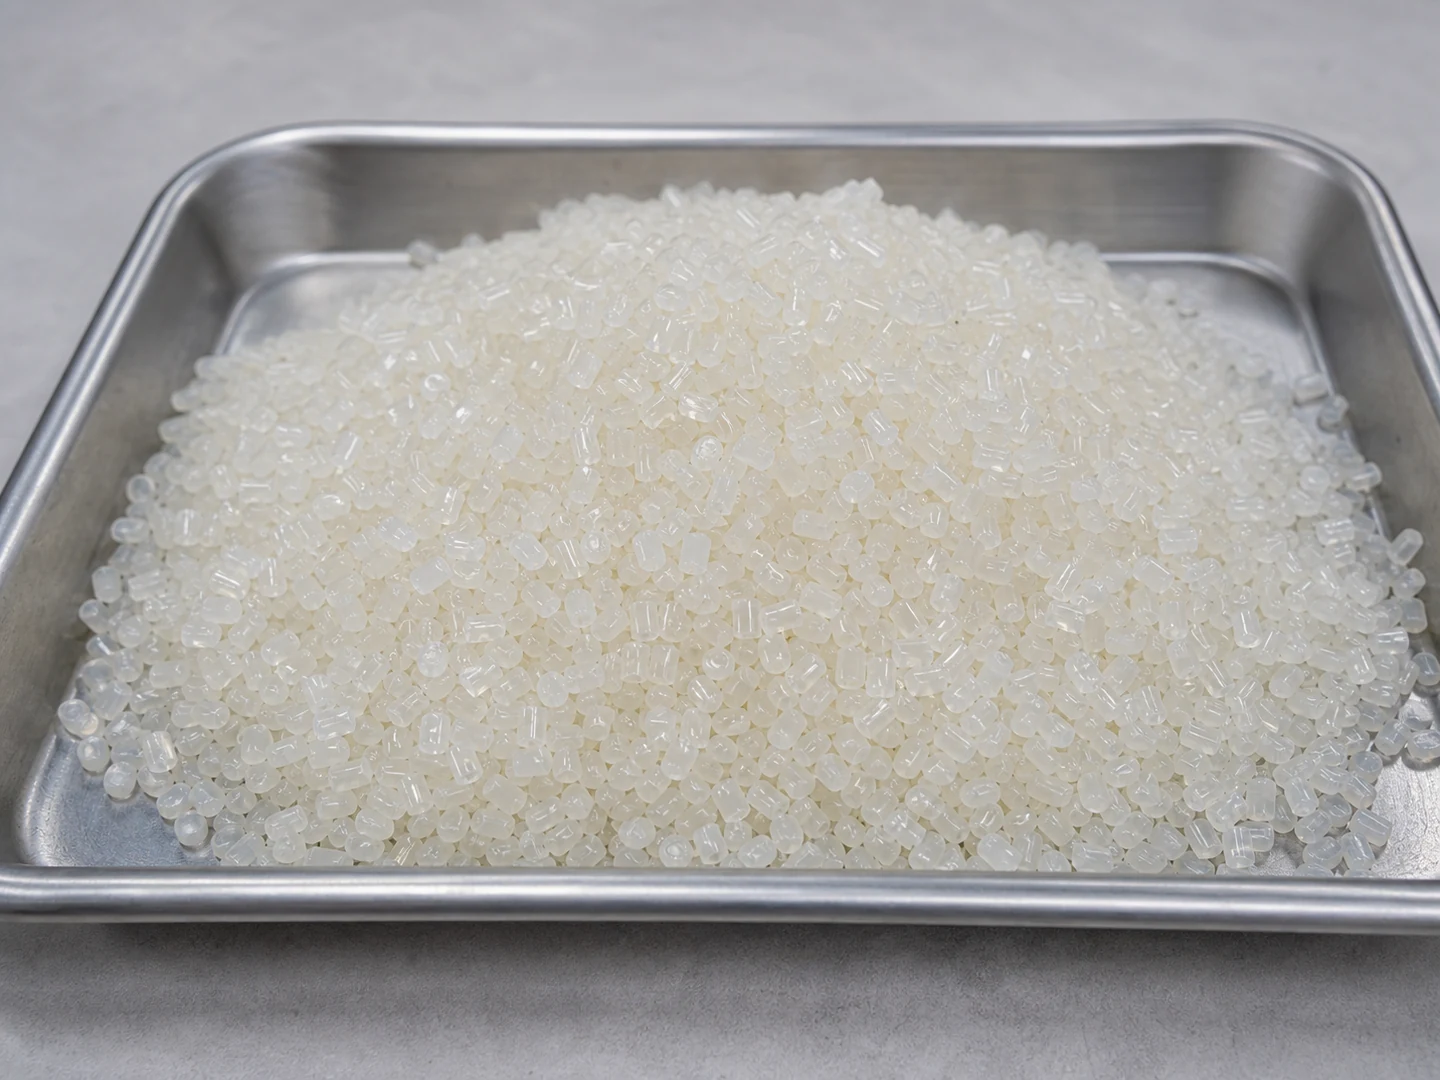
- Nylon PA — Compare Nylon PA with PP, PBT, PET. Change material when wet stiffness, temperature, chemical resistance, conductivity, particle shedding, or surface marking becomes the limiting factor.