What Is Multi-Stage Finishing With Abrasive Nylon Brushes?
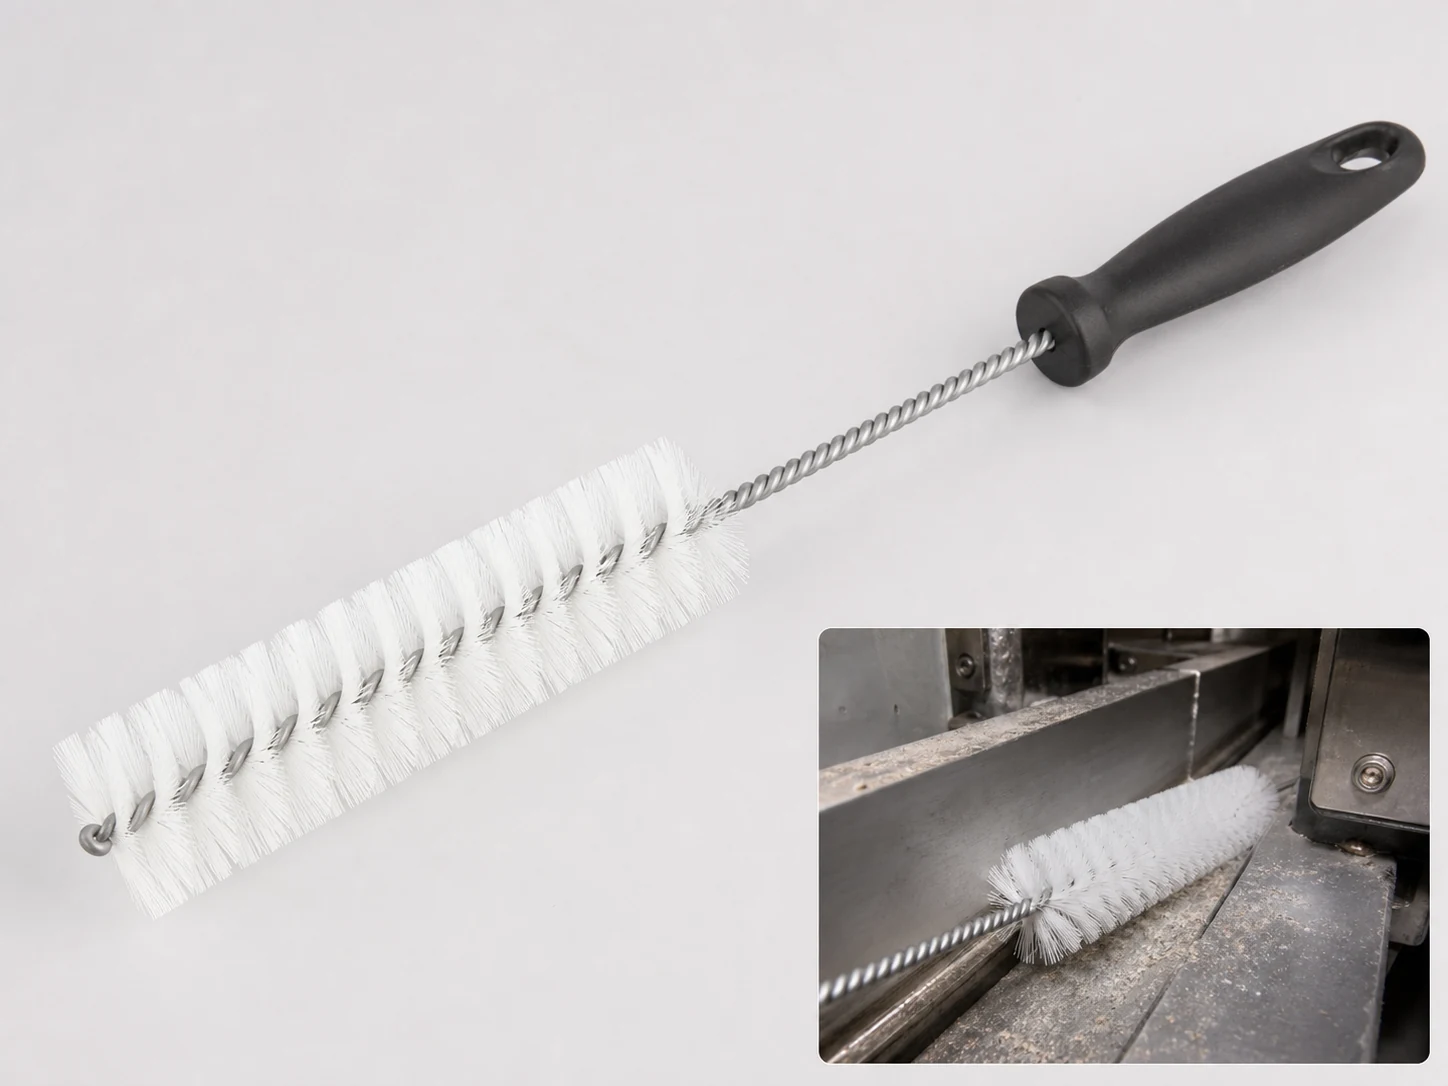
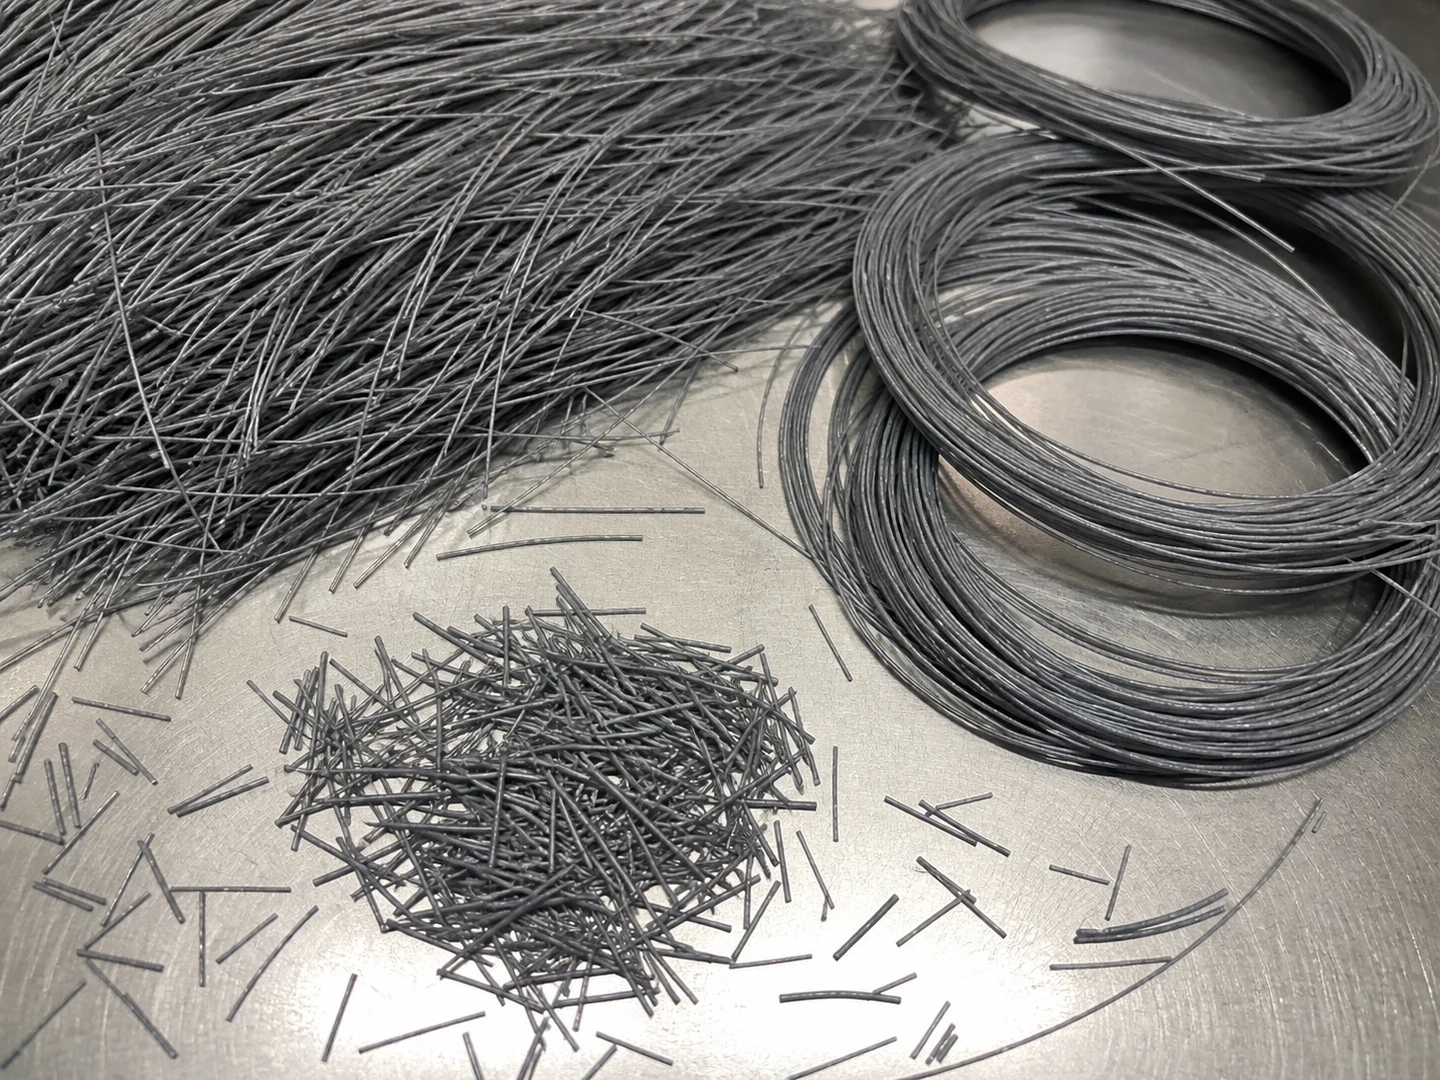
Multi-stage finishing is a controlled process that uses abrasive nylon brushes with progressively finer grit sizes to transform a raw or machined surface into a specification-ready finish. Each stage has a distinct role: coarse grits remove stock and heavy burrs; medium grits even out the scratches left by the coarse stage; fine grits bring the surface to a final polish or specified roughness (Ra). Nylon brushes are well suited to this because their filaments can be embedded with abrasive grains (typically silicon carbide or aluminum oxide) that cut effectively while still conforming to complex geometries.
Common Grit Categories for Abrasive Nylon Brushes
Abrasive nylon brushes are manufactured with a range of grit sizes that correspond roughly to abrasive sanding belts or discs, but the flexible filament action creates distinct surface outcomes. The following table summarizes typical categories and their primary functions:
| Grit Category | Abrasive Grain Size (Approx.) | Typical Role | Surface Finish Outcome |
|---|---|---|---|
| Coarse | 36 – 80 | Heavy stock removal, large burr removal, weld blending | Rough, with visible scratch patterns |
| Medium | 100 – 180 | Scratch refinement, light deburring, surface prep for coating | Semi-smooth, minimal depth of scratches |
| Fine | 220 – 320 | Final polishing, light oxide removal, satin finishing | Smooth, low Ra, uniform appearance |
| Very Fine / Micro | 400+ | Cosmetic finishing, pre-anodize or plating prep | Mirror-like or high luster possible |
Note: Grain types (e.g., ceramic, diamond) can alter performance, but the grit sequence principle remains.
Grit Selection by Application: A Quick Reference Table
The correct starting grit and the number of intermediate steps depend heavily on the application. The table below offers a general starting point for common industrial finishing tasks with abrasive nylon brushes.
| Application | Starting Grit (Coarse) | Intermediate Grit(s) | Final Grit (Fine) | Key Considerations |
|---|---|---|---|---|
| Deburring after machining | 80 | 120 (if needed) | 180 – 220 | Part geometry may limit access; orient brush for even edge contact. |
| Surface preparation before painting | 120 | 180 | 220 – 240 | Ensure uniform scratch profile for adhesion; avoid over-polishing. |
| Weld blend and oxidation removal | 60 – 80 | 120 – 150 | 180 – 220 | Coarse stage must remove all surface discoloration. |
| Edge rounding and radius creation | 120 | — | 180 – 220 | Often a single medium brush suffices; fine brush used only if spec requires smoother edge. |
| Polishing to satin finish | 180 | 220 | 320 | Start finer if base surface is already smooth. |
| Precision component deburring (aerospace/medical) | 120 – 150 | 180 – 220 | 240 – 320 | Validate grit size against part tolerance and Ra requirements. |
Designing a Multi-Stage Finishing Process: Step-by-Step
A structured approach avoids guesswork and rework. Follow these steps when planning a new finishing line or optimizing an existing one:
- Analyze the initial surface condition. Measure roughness (Ra/Rz) or examine the magnitude of burrs, scale, or weld spatter.
- Define the required end-surface specification. Translate appearance, roughness, or functional requirements (e.g., coating adhesion) into a target Ra range.
- Select the starting coarse grit. Choose the coarsest grit that will remove the existing defects without damaging critical dimensions.
- Plan intermediate grits. Do not jump more than 100 grit points between stages; a typical step is 50–100 grit increments to efficiently erase scratch patterns.
- Choose brush configurations. Match brush diameter, filament length, and density to the part geometry for consistent coverage.
- Set machine parameters. Establish speed, feed rate, and brush pressure. Test with sample parts to confirm cycle time and finish.
- Validate and document. Measure output after each stage and adjust as needed. Record final parameters for repeatability.
How to Choose the Right Grit Sequence for Your Part
Grit sequence is not one-size-fits-all. Evaluate these factors before locking in a process:
- Material hardness and composition: Softer metals (aluminum, brass) may require finer starting grits to avoid galling; harder materials (steel, titanium) may need coarser grits for efficient stock removal.
- Initial surface condition: A heavily scaled forging needs coarse grit; a precision ground surface might start at medium or fine.
- Target roughness (Ra): If the specification calls for Ra 0.4 µm or better, you will likely need a fine or very fine finishing stage.
- Part geometry and accessibility: Internal bores, narrow grooves, or sharp corners may limit brush movement; select grits that cut effectively in those constrained areas.
- Production rate: Adding too many stages increases cycle time; balance grit steps with throughput goals.
Common Mistakes in Abrasive Brush Grit Selection
Avoid these pitfalls that frequently lead to finishing rejects:
- Starting too fine. Using a fine grit to remove heavy burrs prolongs cycle time and wears brushes quickly.
- Skipping intermediate grits. Jumping from 80 to 220 grit leaves deep scratches that the fine brush cannot fully erase, yielding a cloudy or uneven finish.
- Ignoring filament wear. As abrasive filaments wear down, cutting action diminishes. A worn brush may no longer perform at its labeled grit equivalent, causing inconsistent results between batches.
- Overlooking brush density. Low-density brushes may not apply enough abrasive contact, forcing operators to compensate with excessive pressure or passes.
- Applying the same recipe to different materials. Grit sequences must be validated when switching from one alloy or heat-treat condition to another.
When a Single Abrasive Nylon Brush Cannot Achieve the Target Finish
There are clear limits to what a single brush stage can accomplish. Consider multi-stage finishing essential in these scenarios:
- High stock removal requirement. If more than a few thousandths of an inch of material must be removed, a coarse stage is mandatory before any refinement.
- Deep surface defects. Pits, heavy mill scale, or severe scratches cannot be smoothed in one pass without risking dimensional changes or brush destruction.
- Tight Ra specifications. Achieving a consistent, low roughness value (e.g., below 0.2 µm) typically requires a minimum of two grit stages after the stock removal phase.
- Aesthetic finish blends. When a uniform grain pattern or satin look is required, progressive grits are needed to hide previous scratch directions.
In such cases, forcing a single brush to do the work of multiple stages leads to slow processing, poor brush life, and disappointing surface quality.
Final Takeaway: Matching Grit to Your Finishing Goals
Effective multi-stage finishing with abrasive nylon brushes is about disciplined grit progression, not guesswork. Start with a clear understanding of your starting surface and ending specification. Use the coarsest grit that removes defects efficiently, then step down in grit size gradually—typically no more than 100 grit points at a time. Validate each stage with surface roughness measurements, and keep a record of brush types, speeds, and pressures that deliver consistent results. When the target finish exceeds the capability of a single brush, a well-planned multi-stage sequence becomes the most reliable path to quality.
When an Abrasive Nylon Brush Is the Wrong Choice
This brush is not enough when the main problem is blocked access, unsafe working conditions, damaged equipment, incompatible chemicals, or a process setting that keeps recreating the residue. In those cases, review base material, burr or oxide level, target finish, brush speed, pressure, and acceptable surface change and confirm the surrounding cleaning method before increasing brush stiffness or contact pressure.
Frequently Asked Questions
Can I skip a grit stage to reduce cycle time?
Skipping stages often backfires because the subsequent finer brush cannot remove the deeper scratch pattern left by the coarser grit. This results in a persistent haze or uneven finish. It is generally safer to keep at least one intermediate stage unless the previous stage already meets the required surface condition.
How do I measure whether the grit progression is working?
Use a surface roughness tester (profilometer) to measure Ra or Rz after each stage. The value should decrease steadily. Visual inspection under consistent lighting can also reveal remaining deep scratches. If roughness stops improving, the current brush may be worn or the grit jump may be too large.
Do I need different brush types for coarse and fine grits?
Not necessarily. The same nylon brush style (wheel, cup, disc) can hold different grits, but filament diameter and density are sometimes tailored to the abrasive grain size. For example, coarse grits may require thicker filaments to support the larger abrasive particles. Always confirm with your brush supplier that the filament construction matches the intended grit.
What is the most common grit sequence for general metal finishing?
For many metal components that need a smooth, paintable surface, a typical sequence is 120 grit (coarse), 180 grit (medium), and 240 grit (fine). This progression strikes a balance between effective defect removal and a uniform finish suitable for most coatings or light cosmetic requirements.
How does part material affect grit selection?
Soft, gummy materials like aluminum may load the brush or gall if the grit is too coarse. Starting with 150 or 180 grit instead of 80 can prevent smearing. Hard materials like hardened steel or titanium often need a coarser starting grit (60 or 80) to remove stock efficiently. Test on scrap pieces before committing to a full production run.
Can I use the same multi-stage process for automated and manual operations?
The grit sequence itself can be the same, but brush pressure, speed, and dwell time will differ. In manual applications, operator consistency becomes critical; consider incorporating visual standards or roughness checks more frequently. For automated cells, parameters can be tightly controlled, making the process more repeatable once validated.
When should I replace a worn abrasive nylon brush?
Replace when the brush no longer achieves the expected stock removal rate or surface finish within the established cycle time. Signs include a glazed appearance on the filament tips, measurable reduction in filament length, or an increase in required pressure. Tracking brush usage hours helps plan preventive changeovers.
Is a coolant or lubricant necessary during multi-stage nylon brush finishing?
It depends on the material and heat sensitivity. Coolants can extend brush life and prevent overheating of both the part and the nylon filaments, especially during aggressive coarse grit stages. For many dry finishing applications, air blow-off or dust extraction is sufficient to keep the brush face clean. Always check the brush manufacturer’s recommendations for wet vs. dry use.
Technical References
- World Stainless — Corrosion Resistance of Stainless Steels
- British Plastics Federation — Thermoplastics
Which bristle material fits this job — Abrasive Nylon, Nylon PA or PA6 Nylon?
| Material | Continuous temperature (°C) | Peak temperature (°C) | Water absorption | Hardness |
|---|---|---|---|---|
| Abrasive Nylon | 120 | 150 | 0.1–1.0% | Abrasive filament; stiffness and cutting level is controlled by PA base, grit type, grit size, filament diameter and trim height. |
| Nylon PA | 93 | 121 | 0.3–9% by PA grade and conditioning | Medium to firm; filament diameter and trim length control bending force. |
| PA6 Nylon | 80–100 | 130–160 | 1.5–3.0% | Shore D 75–85 |
| PBT | 120–140 | 160–180 | 0.05–0.20% | Shore D 80–90 |
Figures as published by Perlon; Brushtec / DuPont. Confirm the exact grade against the supplier datasheet before ordering.
What should replace Handheld Detail Brushes for multi-stage finishing?
- Handheld Detail Brushes — Handheld detail brushes cover general precision cleaning; auto-detailing brushes impose tighter controls for painted, polished, leather, display, and trim surfaces.
- Abrasive Nylon — Compare Abrasive Nylon with PP, PBT, PET. Change material when wet stiffness, temperature, chemical resistance, conductivity, particle shedding, or surface marking becomes the limiting factor.
- Nylon PA — Compare Nylon PA with PP, PBT, PET. Change material when wet stiffness, temperature, chemical resistance, conductivity, particle shedding, or surface marking becomes the limiting factor.
- PA6 Nylon — Compare PA6 Nylon with PA66, PP, PBT. Change material when wet stiffness, temperature, chemical resistance, conductivity, particle shedding, or surface marking becomes the limiting factor.